Perform spatial calibration
Spatial calibration is a process used to correct sensor positions within the VR space.
If you move or adjust the position of the web camera, or if the VR play area changes, the positional relationship may become misaligned. In such cases, please perform the calibration again.
Selecting the Calibration Method
Refer to the table below to choose the appropriate calibration method.
| Condition | Recommended Method |
|---|---|
| A 2D marker can be attached to the HMD | Auto Spatial Calibration |
| A 2D marker cannot be attached to the HMD | Manual Spatial Calibration |
Check Precautions
Before performing spatial calibration, please review the following precautions.
The position and orientation adjustment values are all set to 0 by default.
In general, do not change these values.

If the tracker positions do not align even after calibration, try resetting all of these values to 0.
If you are using Virtual Desktop, make sure to turn off “Forward tracking data to PC.”
If this setting is enabled, tracker positions may not align correctly even after performing spatial calibration.
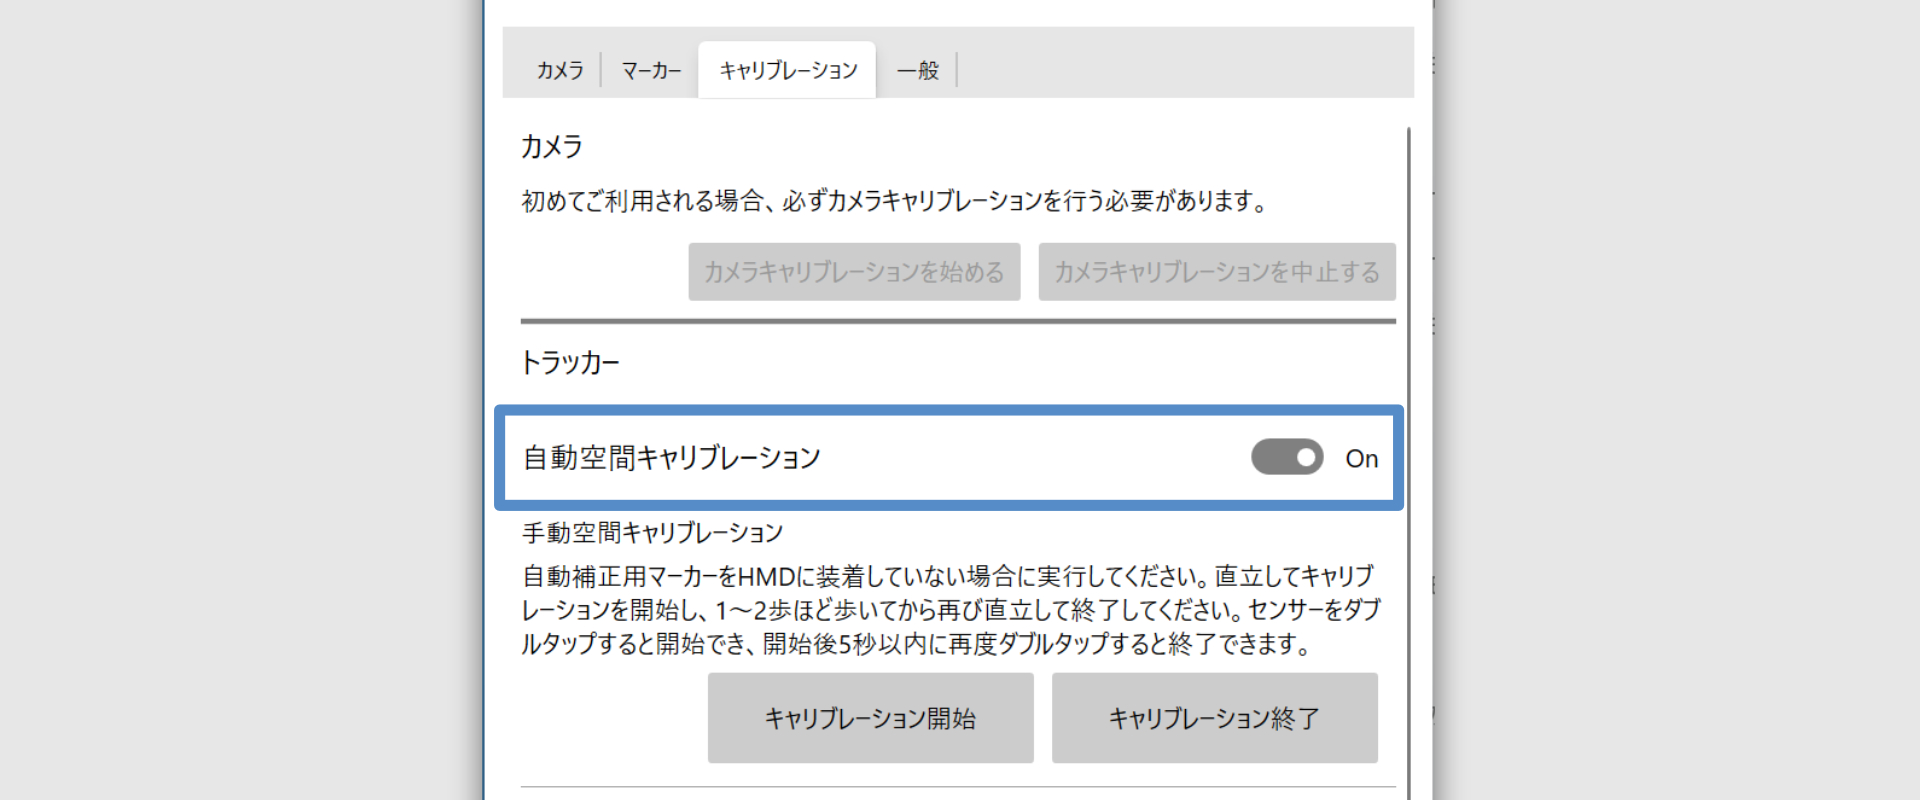
Auto Spatial Calibration
When the camera recognizes the tag attached to your HMD, the system automatically begins the calibration process.
-
Ensure the HMD is being tracked in SteamVR.
- If SteamVR cannot track the HMD, calibration will not work.
-
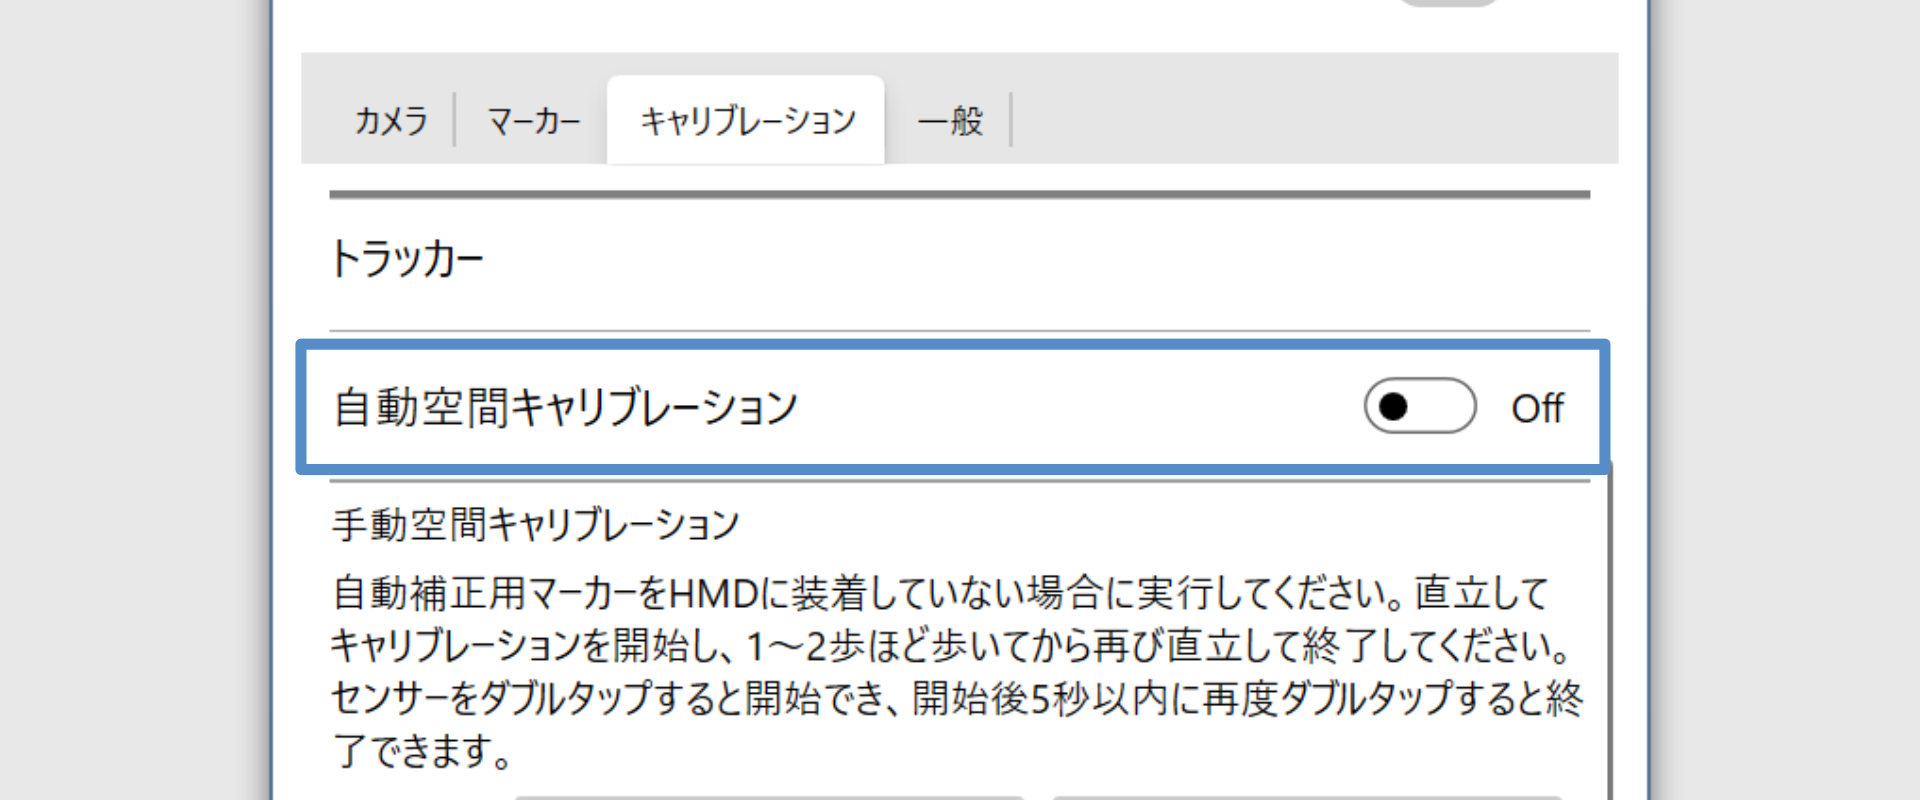
Make sure that Auto Spatial Calibration is set to On.
-
Show the tag on the HMD to the camera.
Keep within 1.5 m.

-
Hold still for about 5 seconds while the tag is recognized. The process runs in the background.
-
After calibration, confirm that the virtual trackers in SteamVR roughly match the physical sensor positions.
You can view the virtual trackers while the SteamVR menu is open.
Move a controller close to each sensor to easily check how well they align.
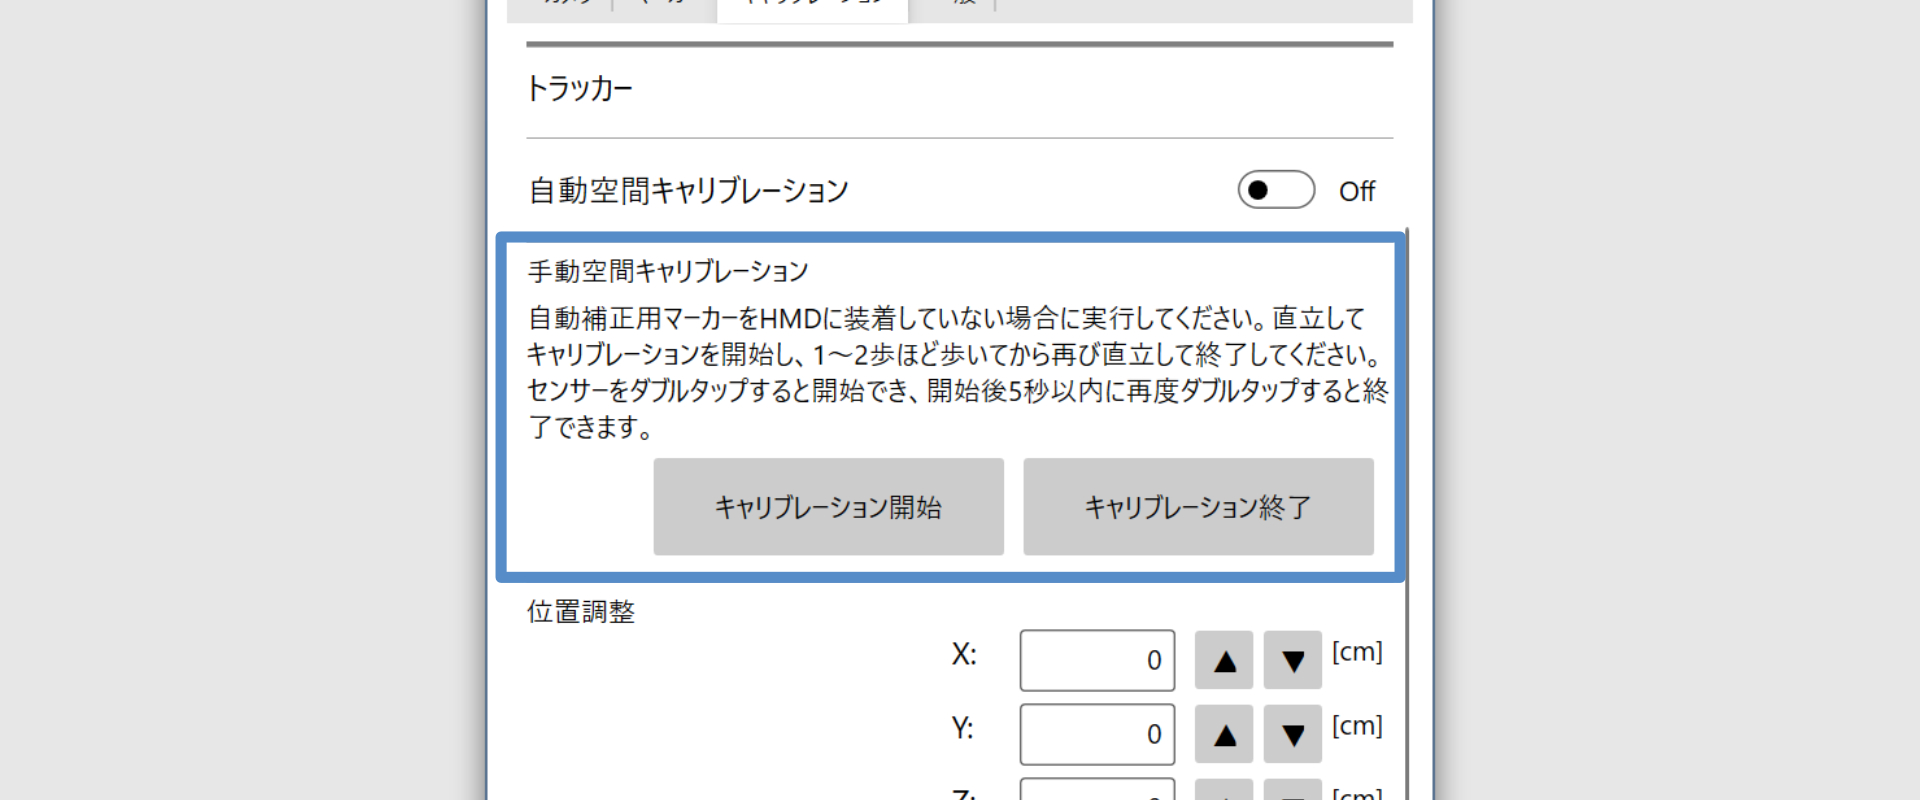
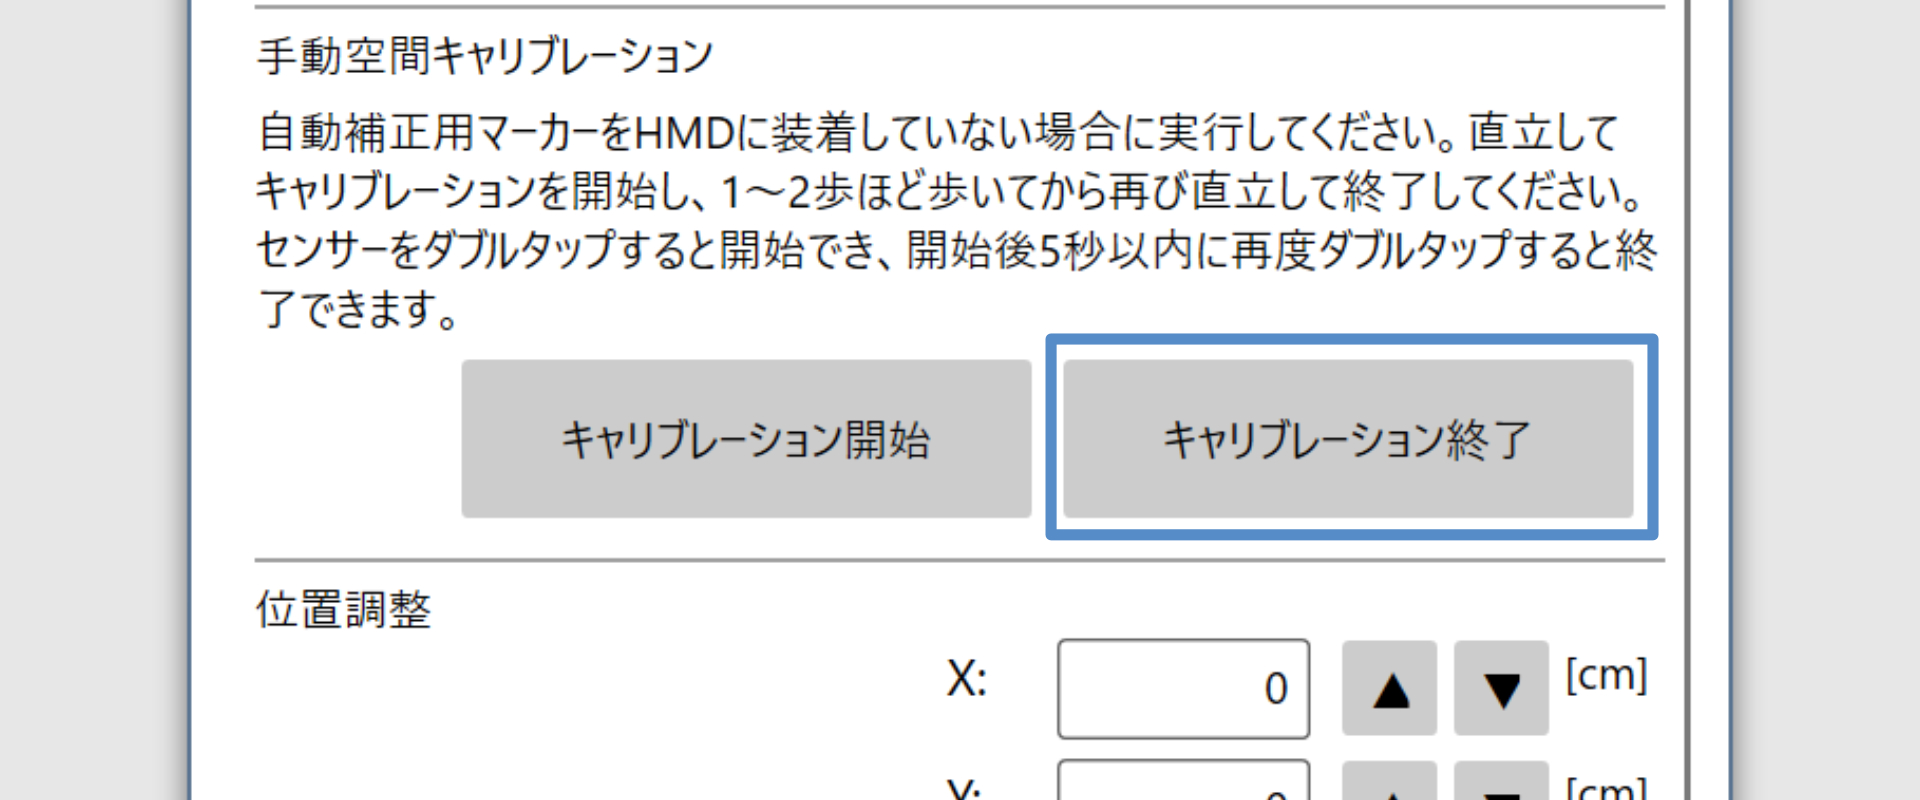
Manual Spatial Calibration
If you cannot attach a tag to the HMD, please follow the steps below to perform manual spatial calibration.
-
Turn off Auto Spatial Calibration.
-
Stand where the camera can see all three tags on your legs and waist, facing the camera.
-
Step backward one step, ensuring all tags remain visible.
-
In Opsens Studio, click Start Calibration under Manual Spatial Calibration.
You will see “Starting point registered”.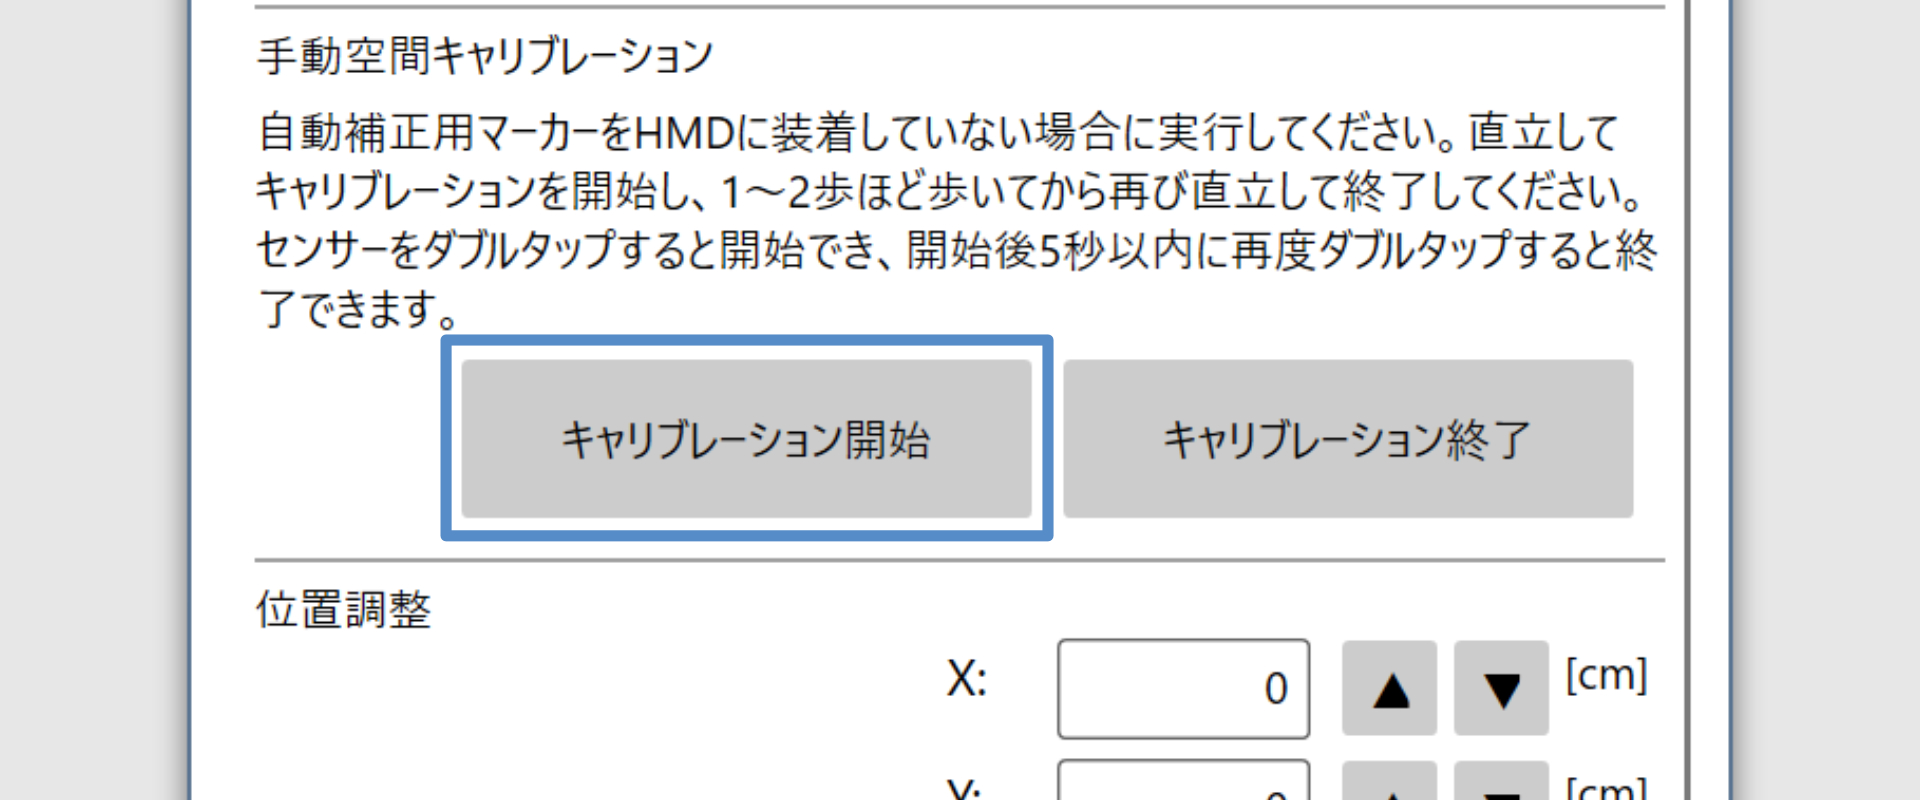
-
Take one step forward (at least 20 cm) toward the camera.
At this time, make sure that three 2D markers are recognized. -
Click Finish Manual Spatial Calibration.
You will see “Calibration completed”.
-
After calibration, make sure the positions of the physical sensors on your body roughly match the virtual trackers in the SteamVR space.
You can check the virtual trackers while the SteamVR menu is open.
Move a controller close to each sensor to easily see how well they align.