Waist / Chest / Thigh Markers (3–6)
The required markers differ depending on your Opsens model:
| Model | Required quantity |
|---|---|
| Opsens | Waist(3) |
| Opsens+ | Waist(3), Chest(4), Thigh(5)(6) |
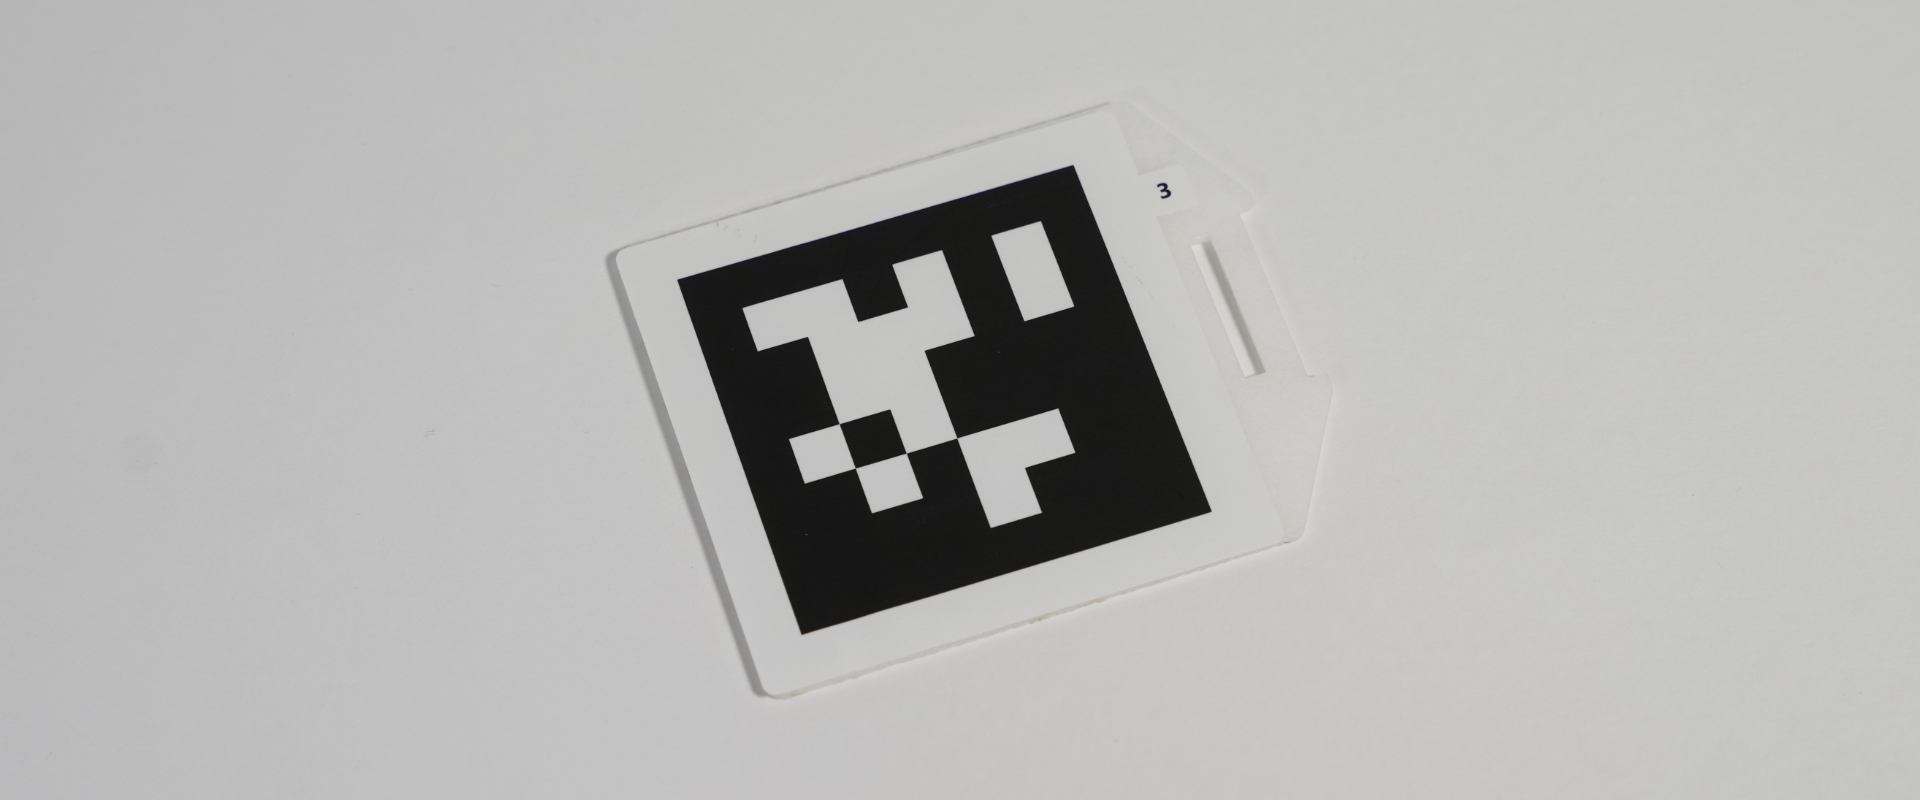
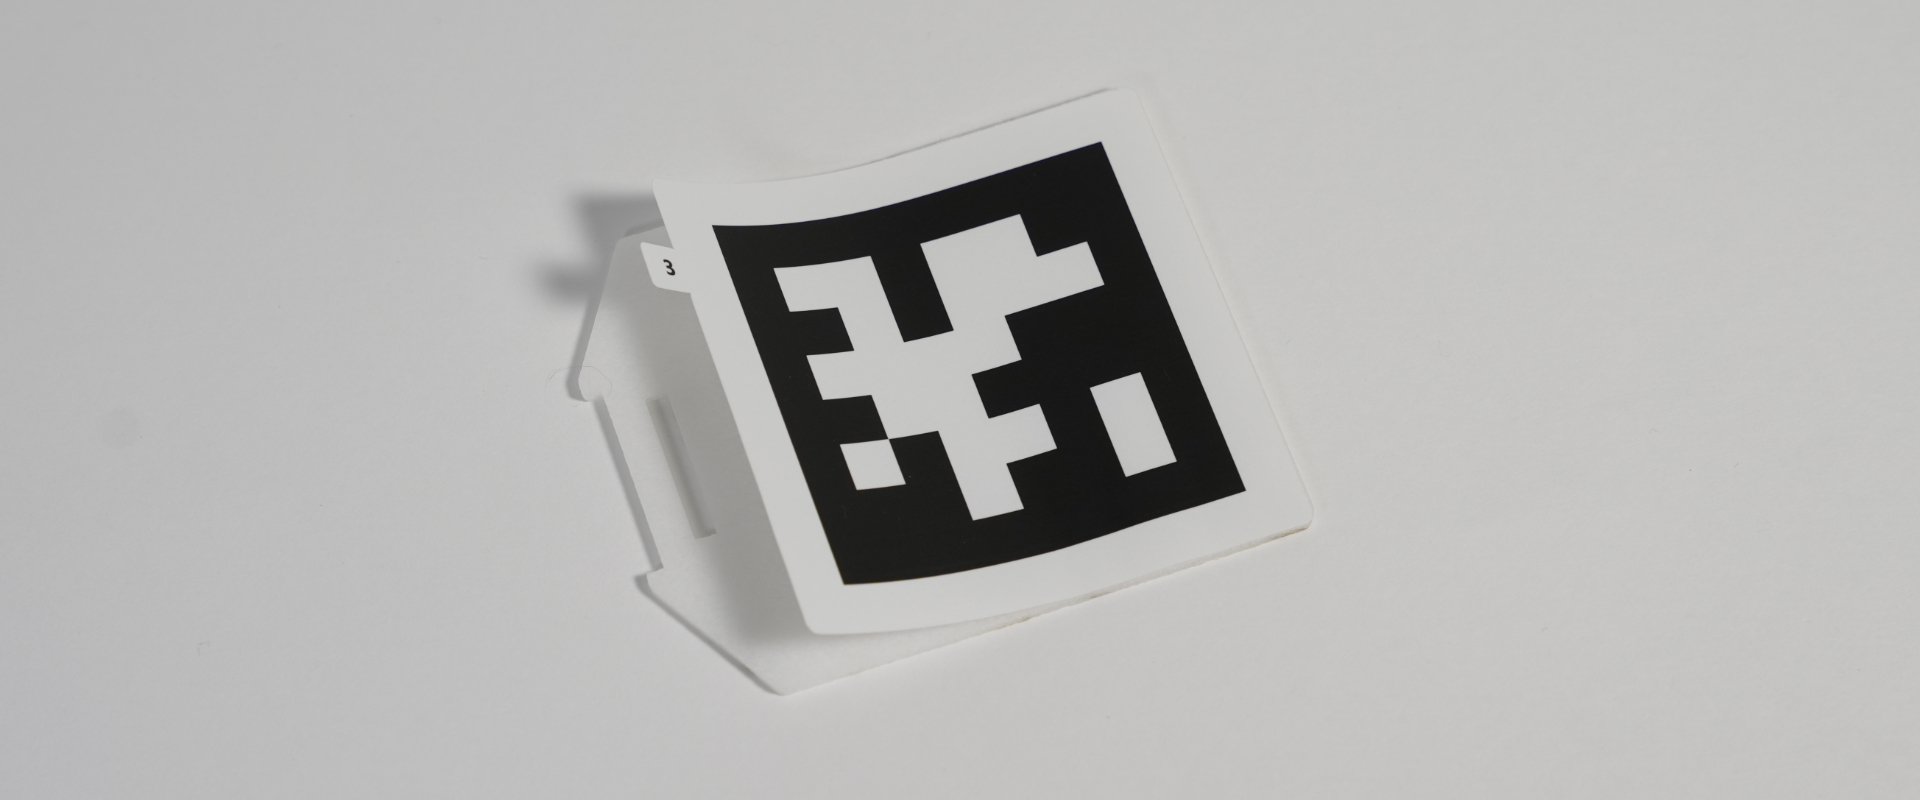
The images use marker “3 (waist)” but all follow the same process.
Apply the 2D marker sticker
If any fragments remain in the board’s slits, remove them by hand.
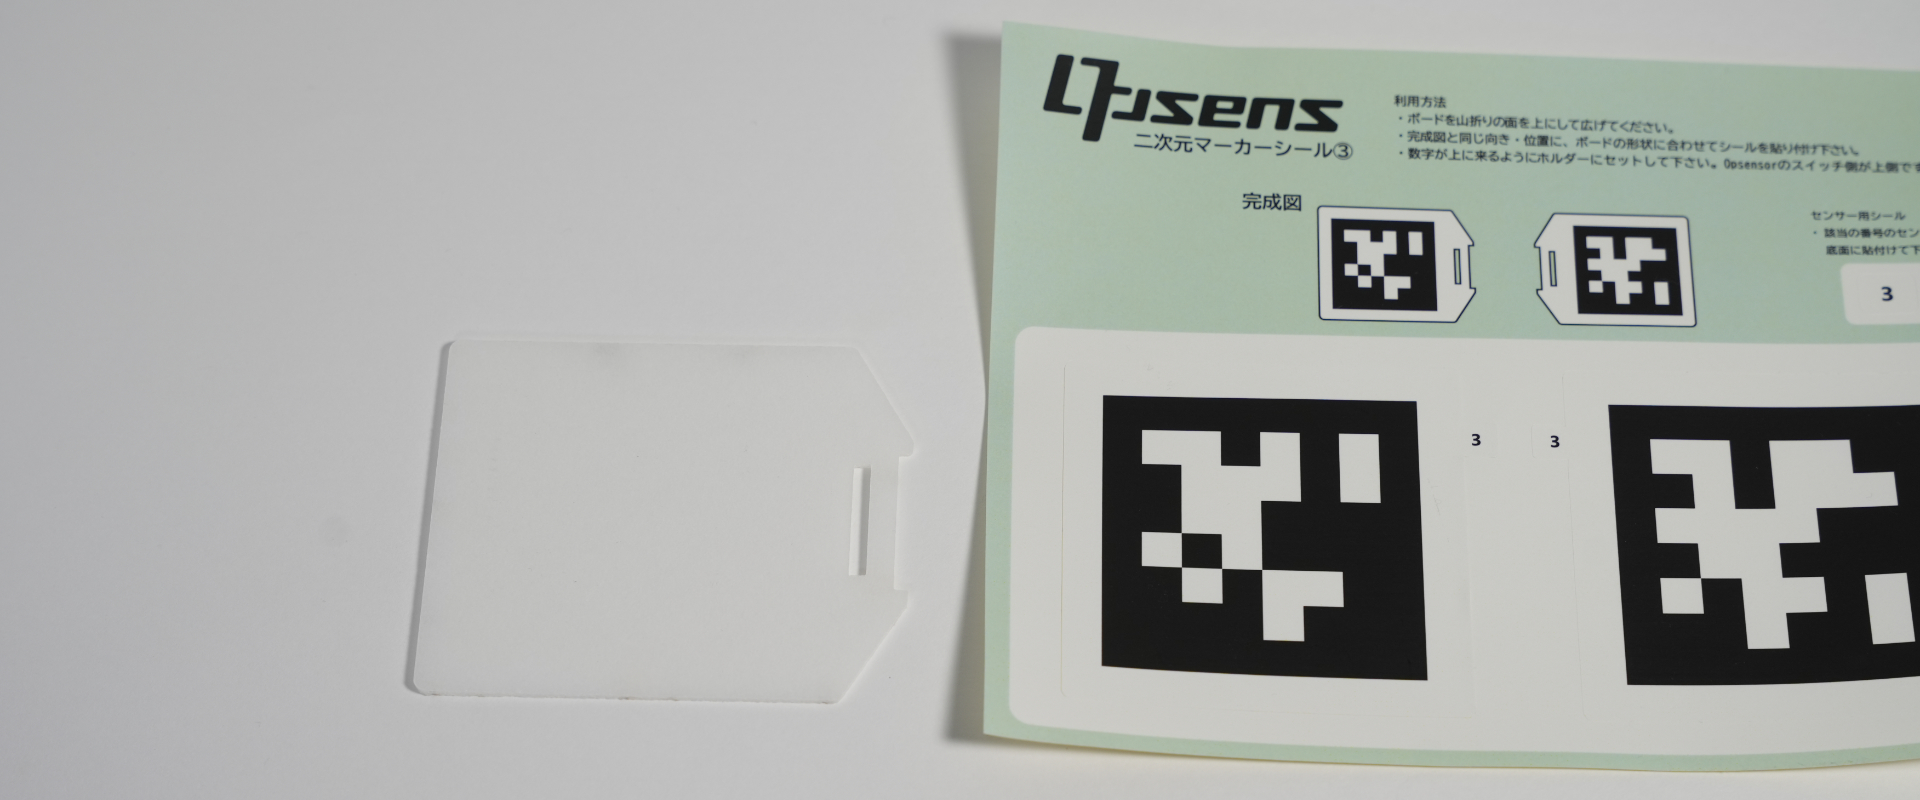
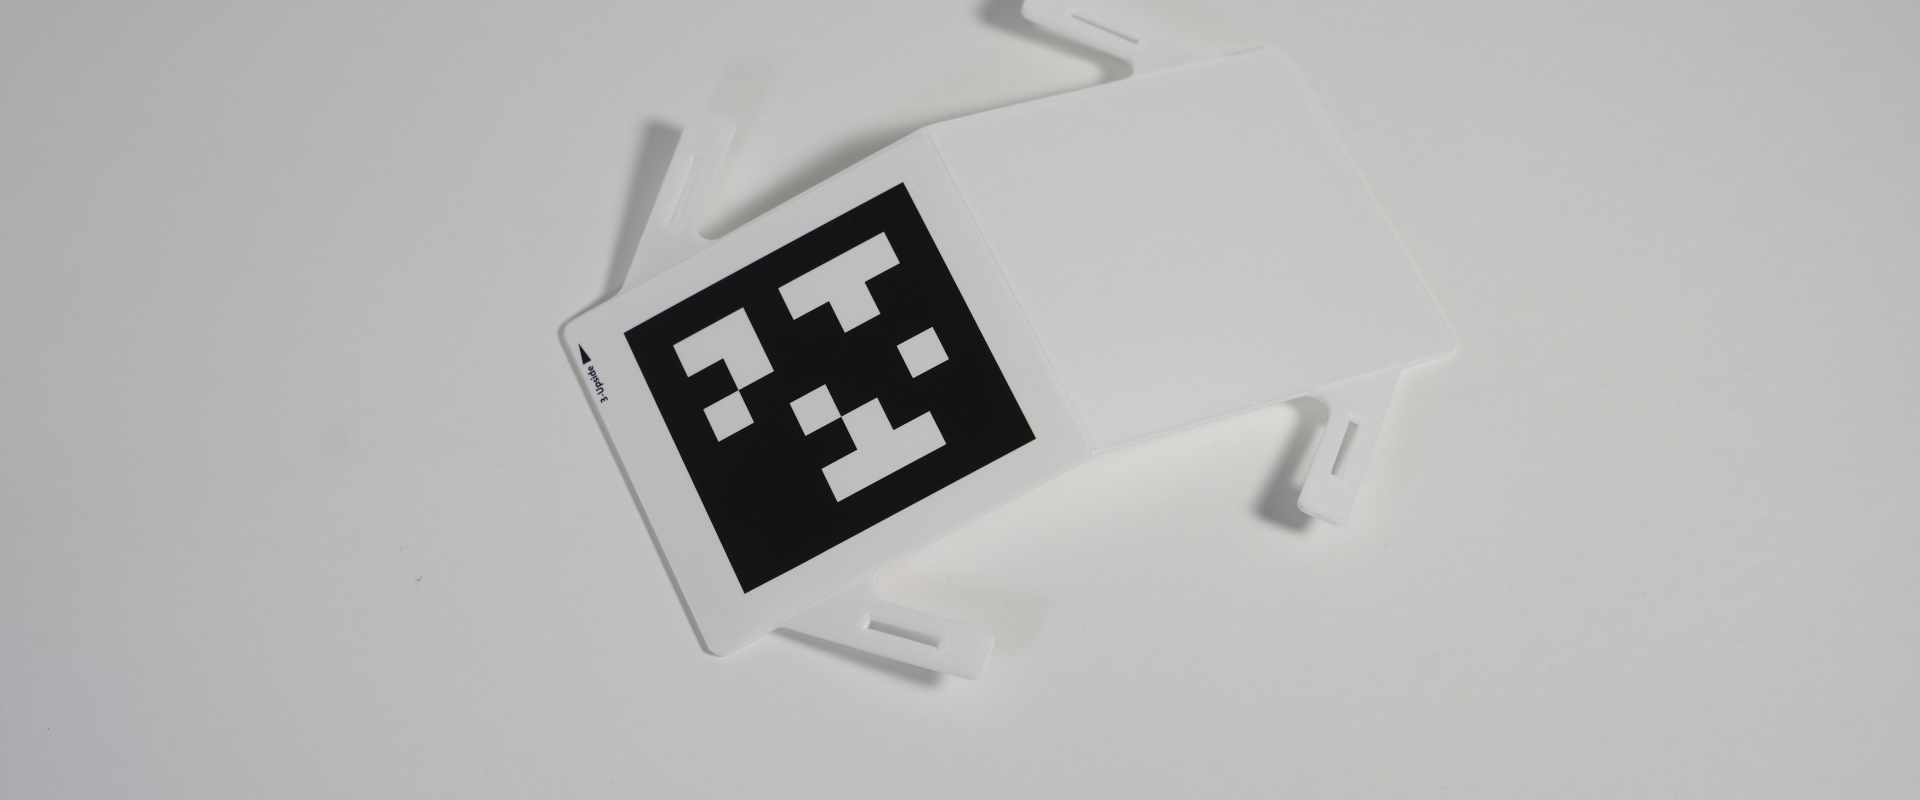
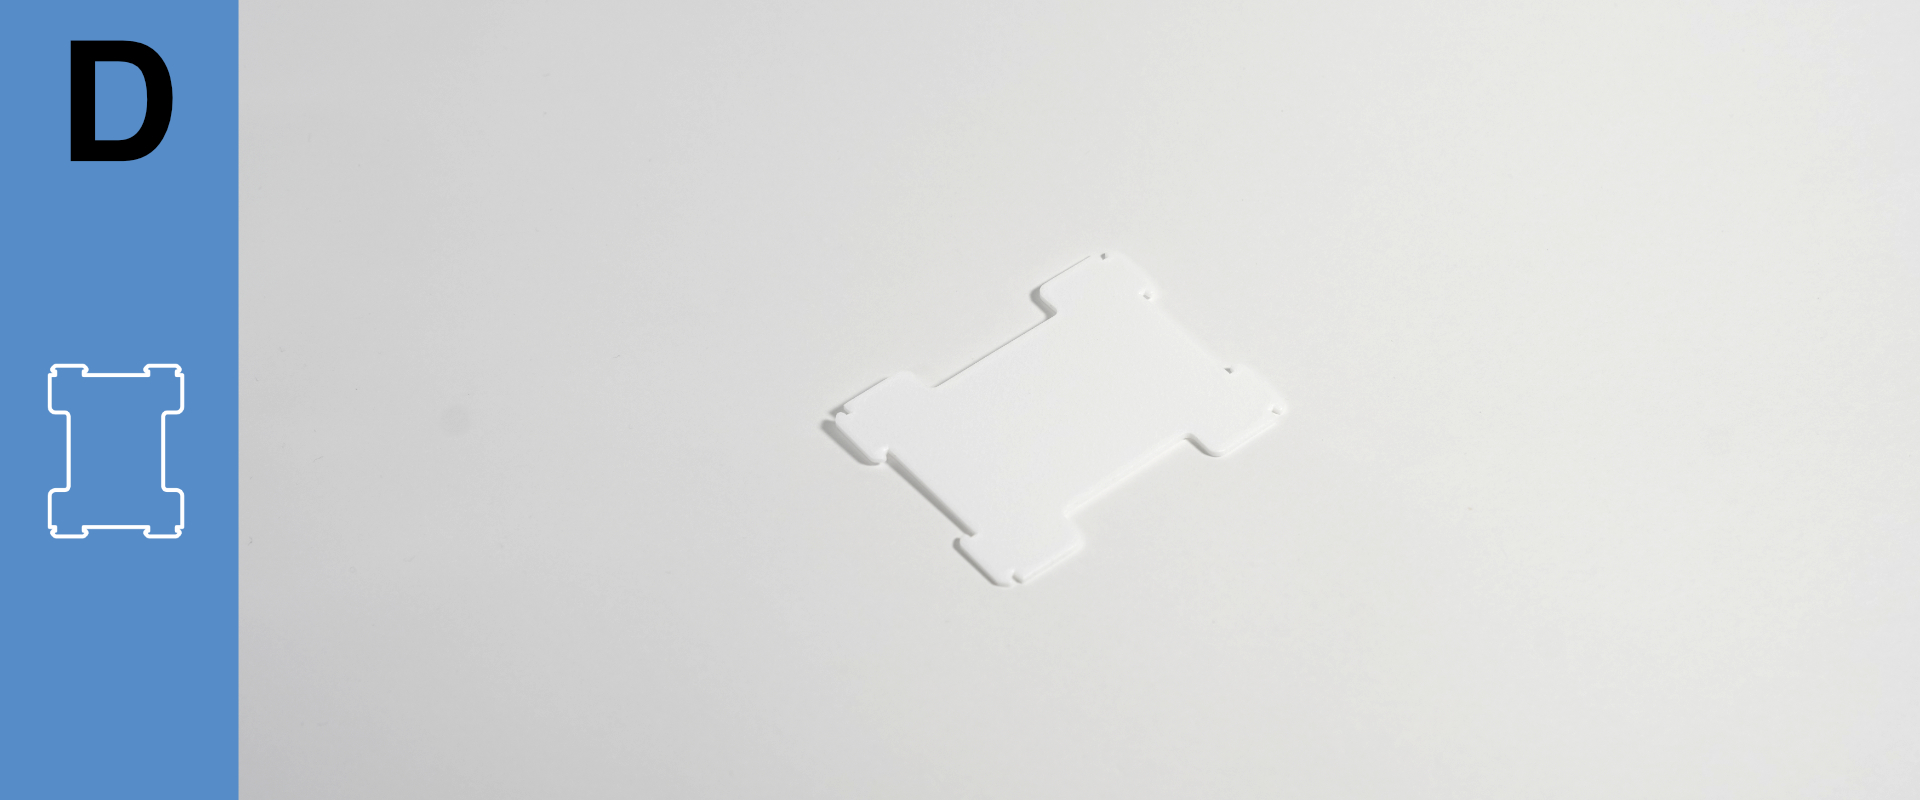
Board B
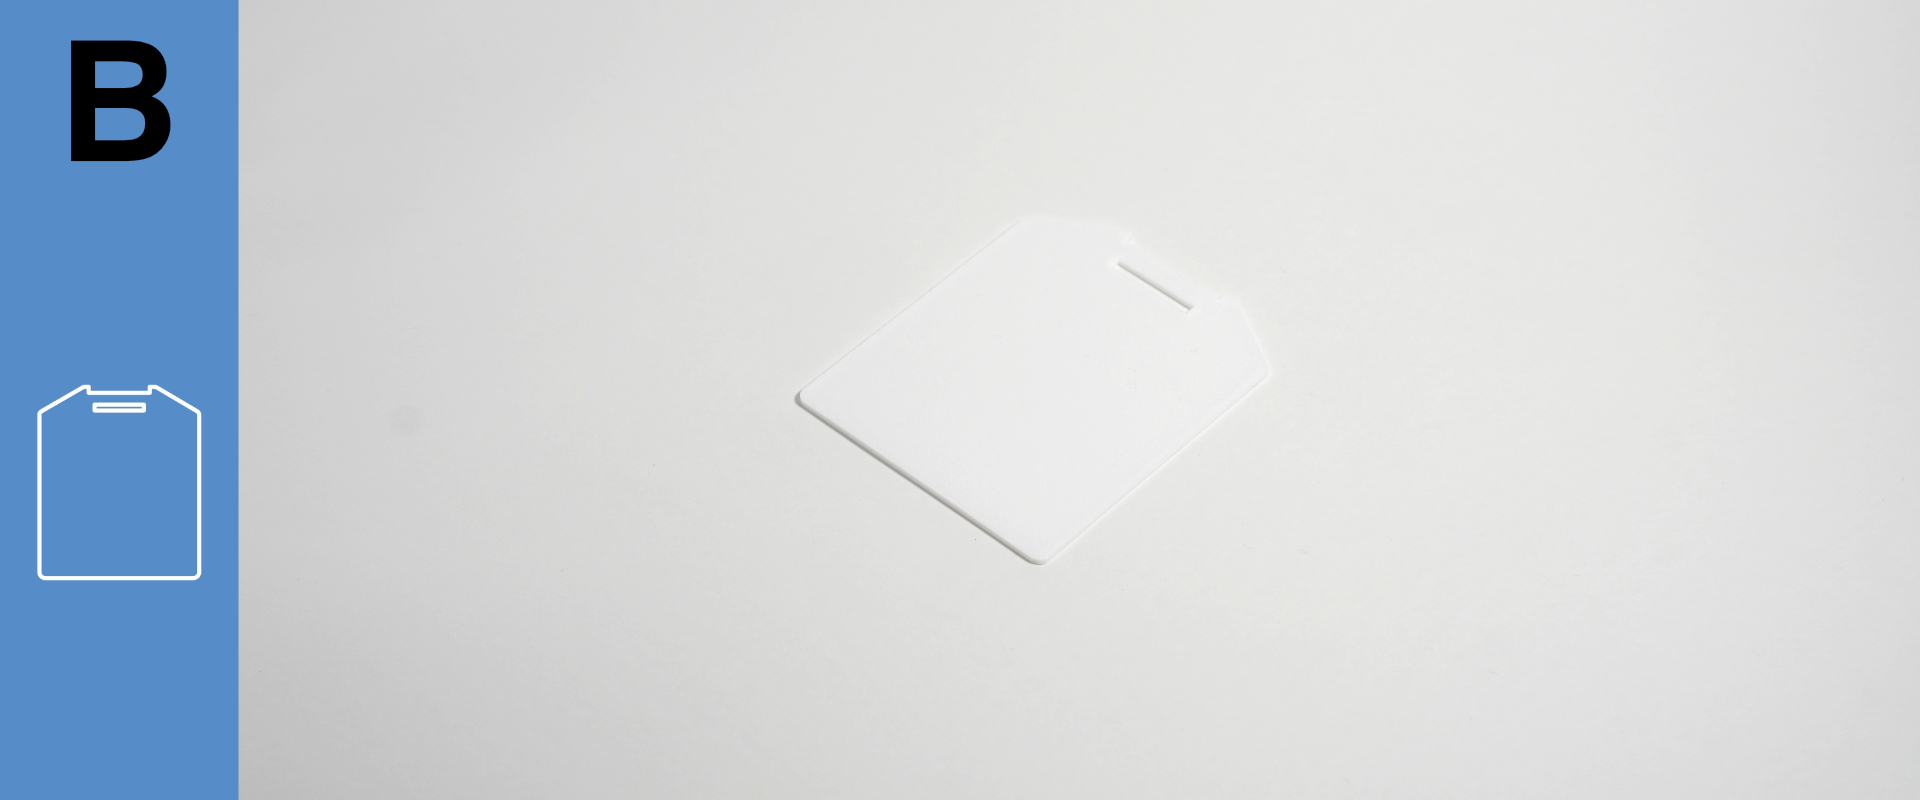
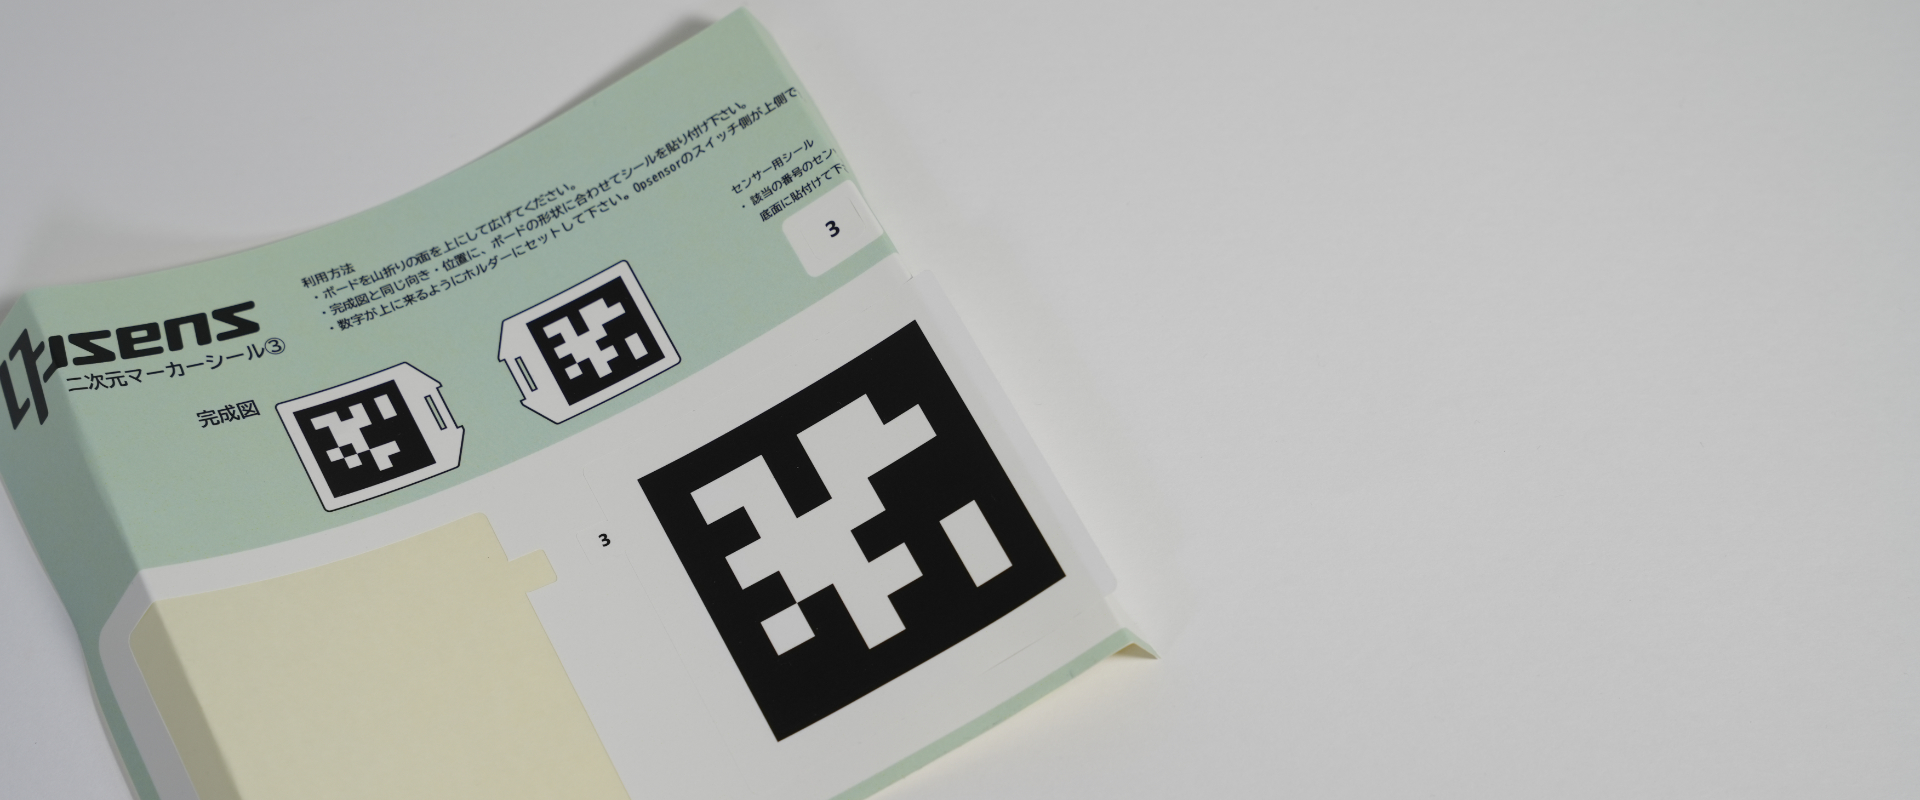
Prepare Board B and its stickers.
Board B has no front/back difference—match orientation using the illustration on the sheet.
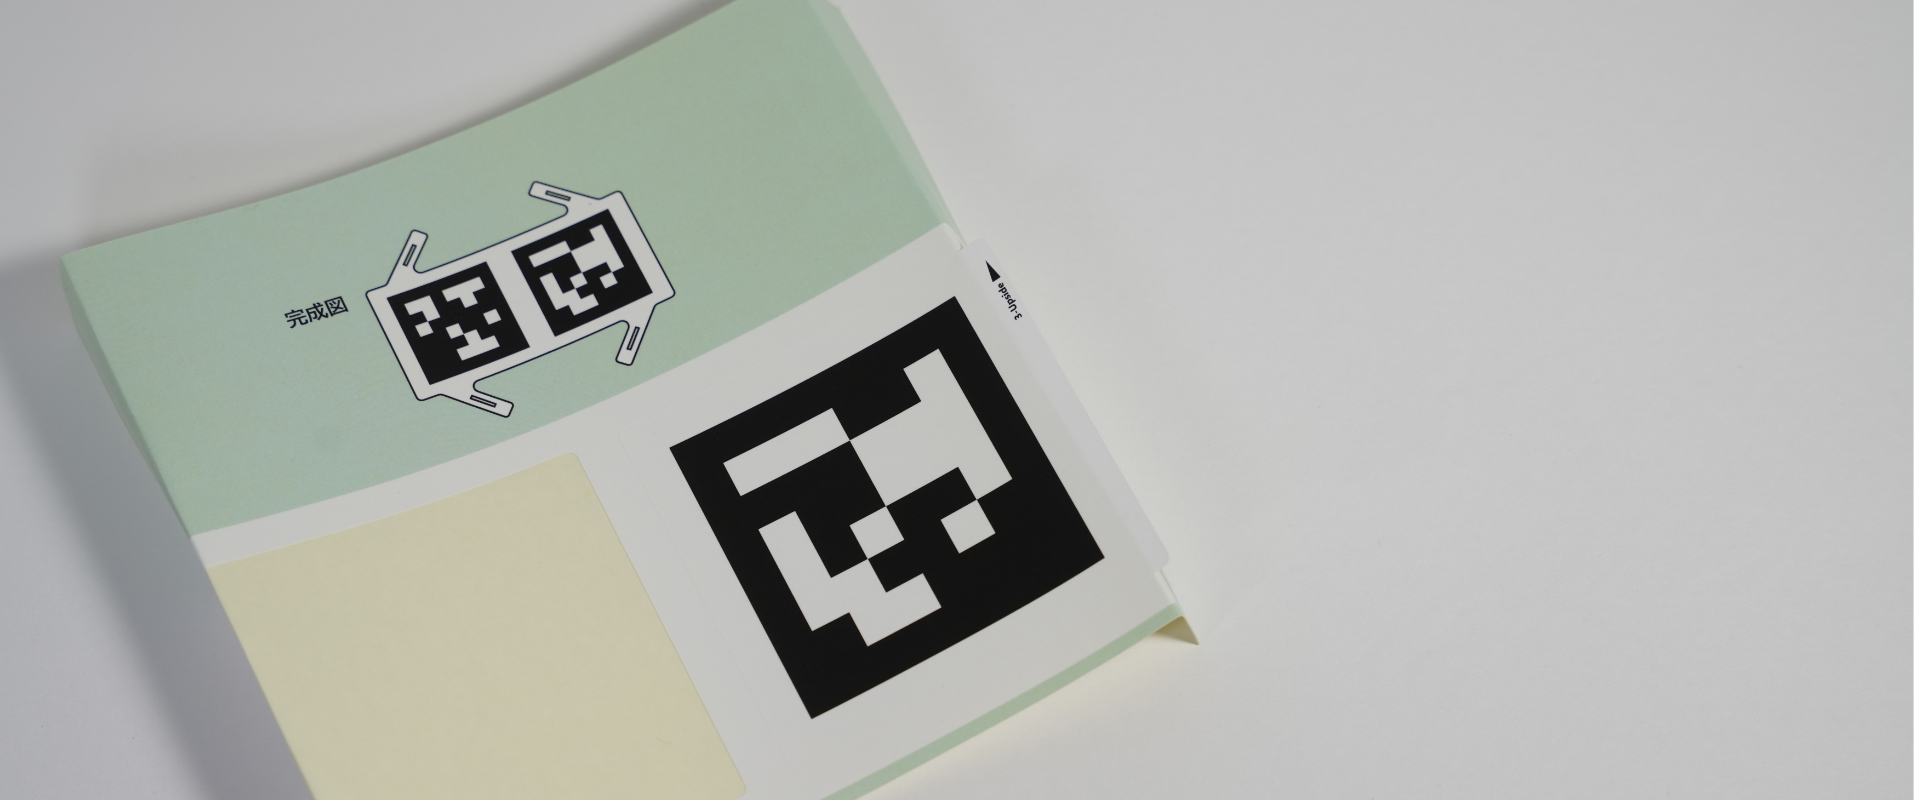
Fold the sticker sheet as shown in the image and peel up the edge of the sticker.
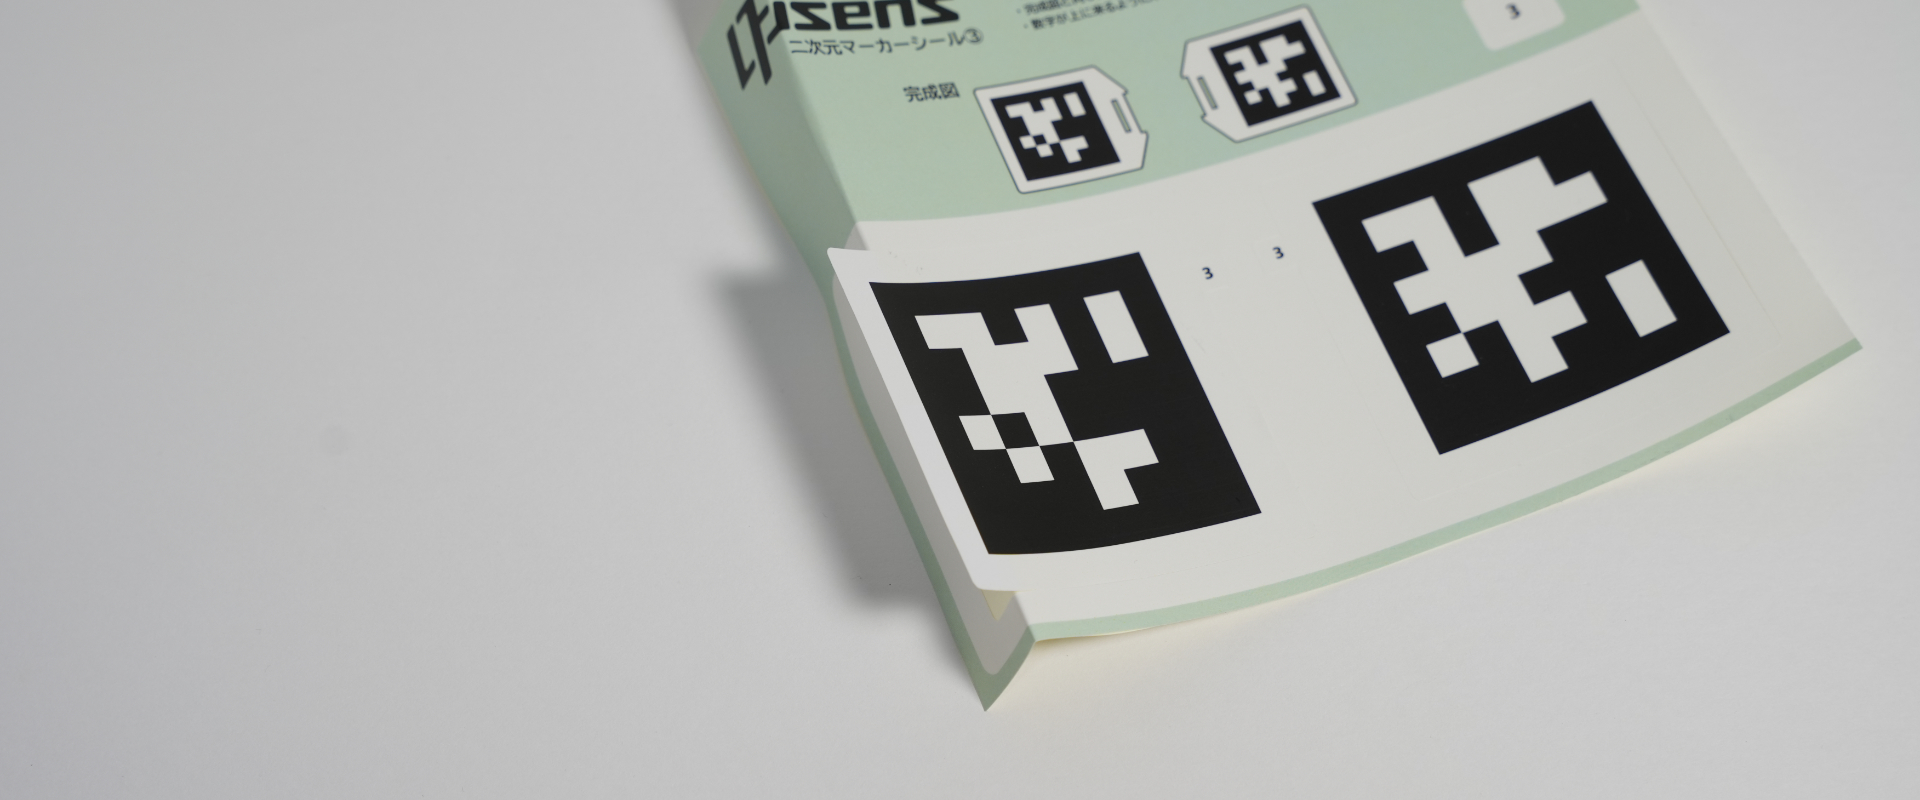
Peeling the sticker from the raised area with the number may cause it to tear.
Align the edge of the sticker with the left side of Board B.
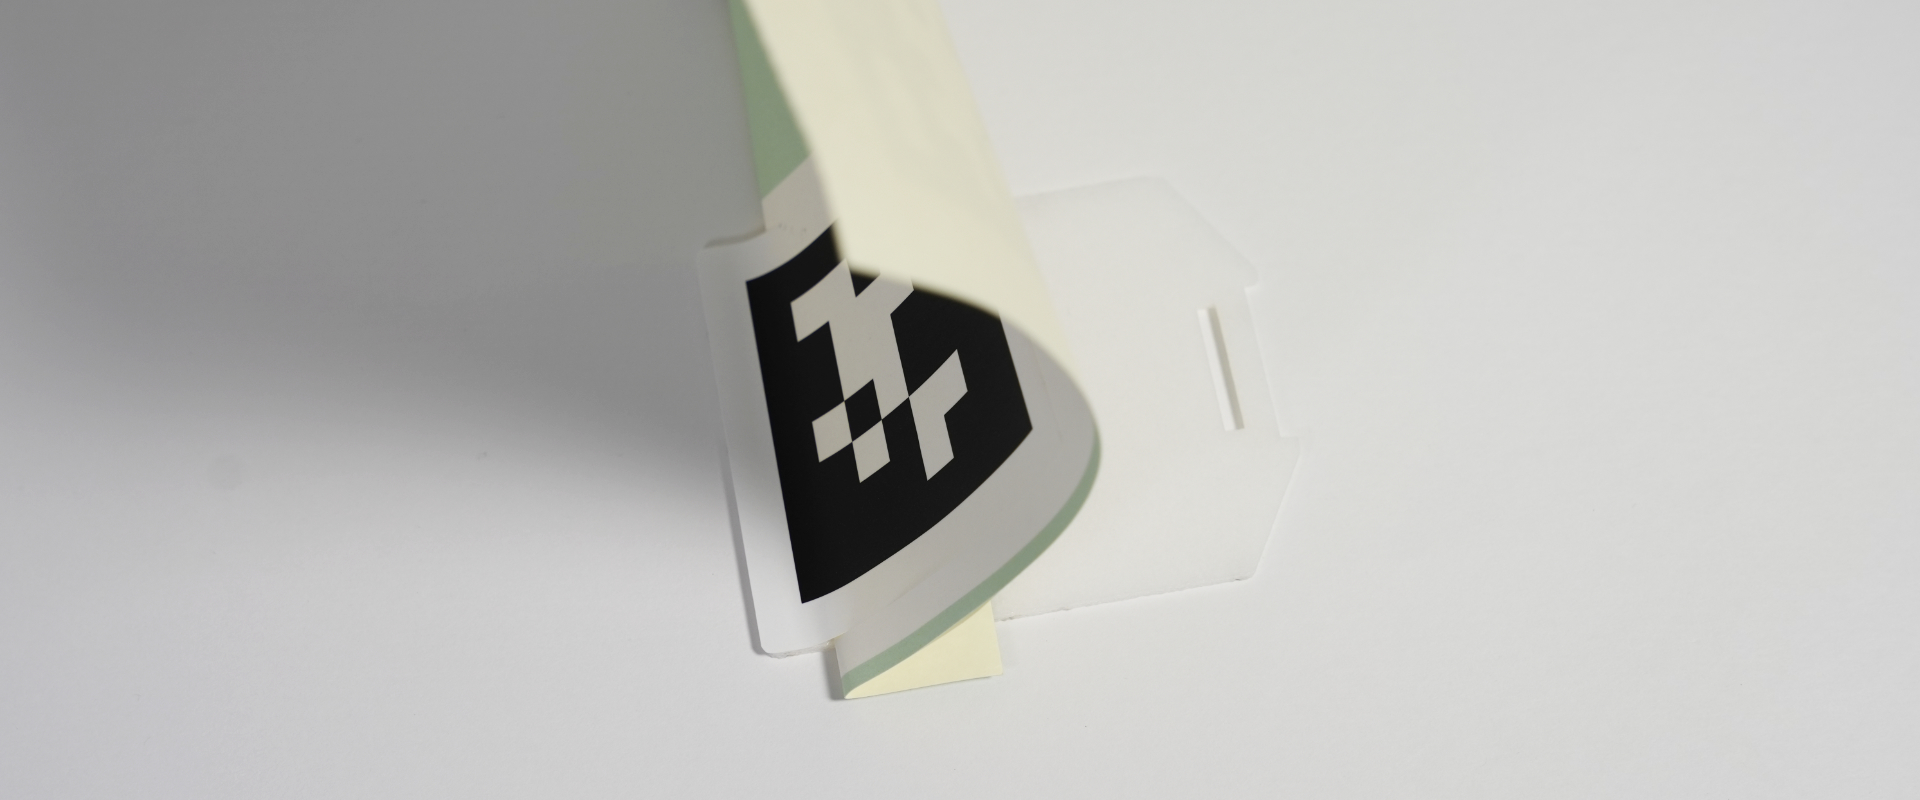
Peel the sheet slowly to attach the sticker completely.
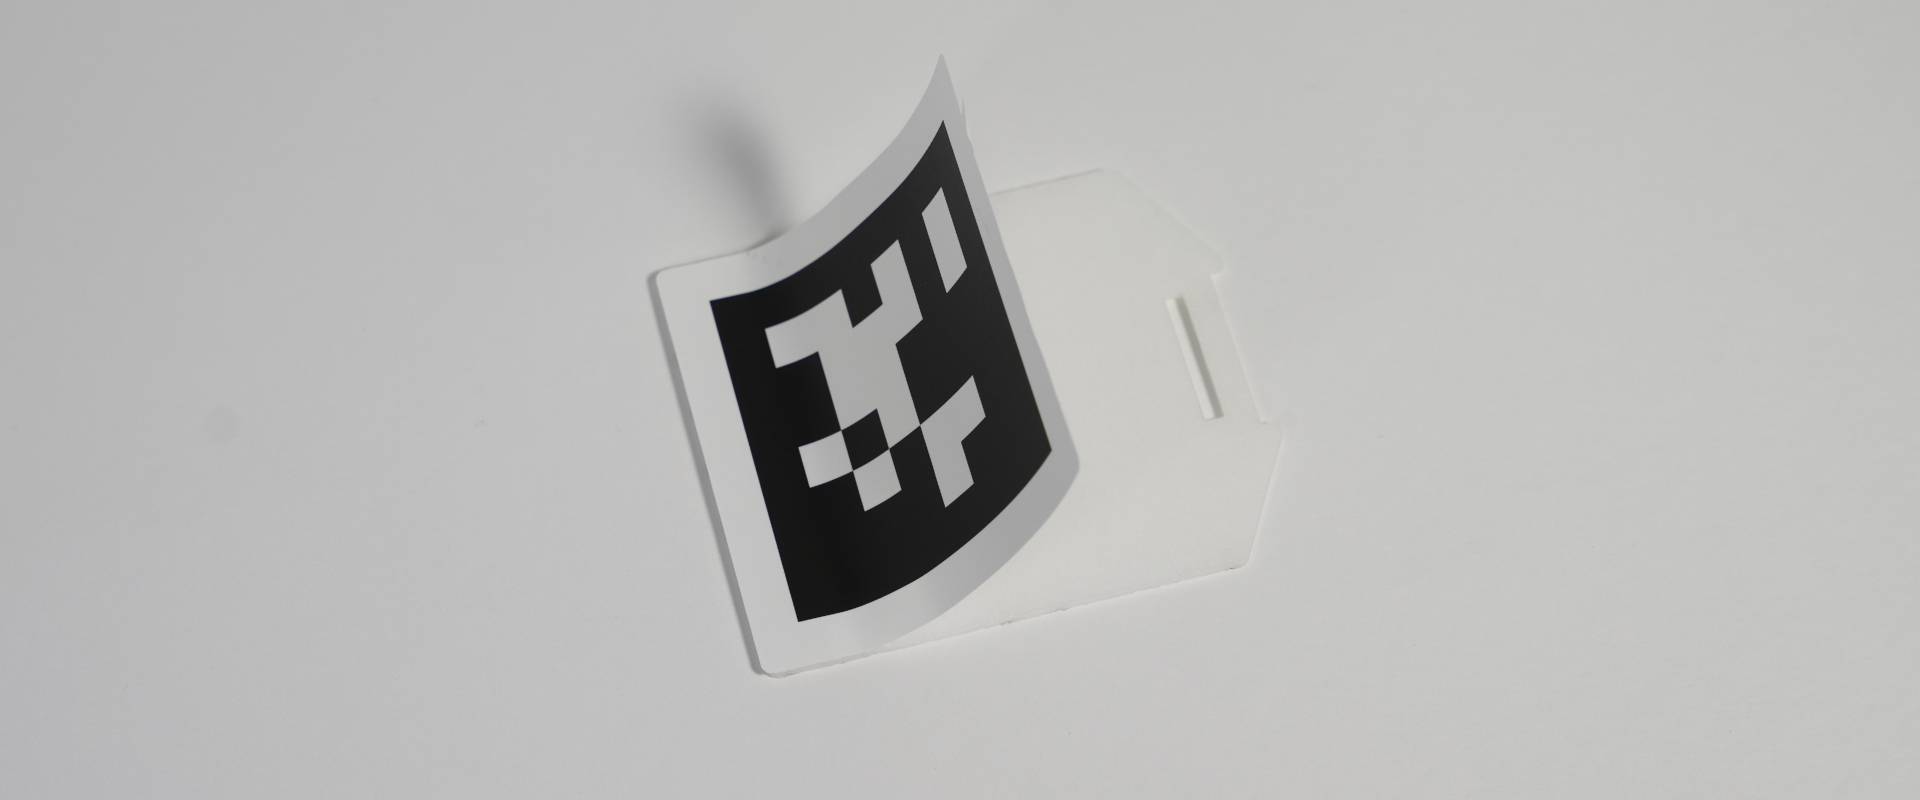
Apply the sticker on the opposite side using the same procedure.
Fold the sheet, peel up the sticker edge, and be careful not to lift the number label.
Align the sticker edge with the right side of Board B.
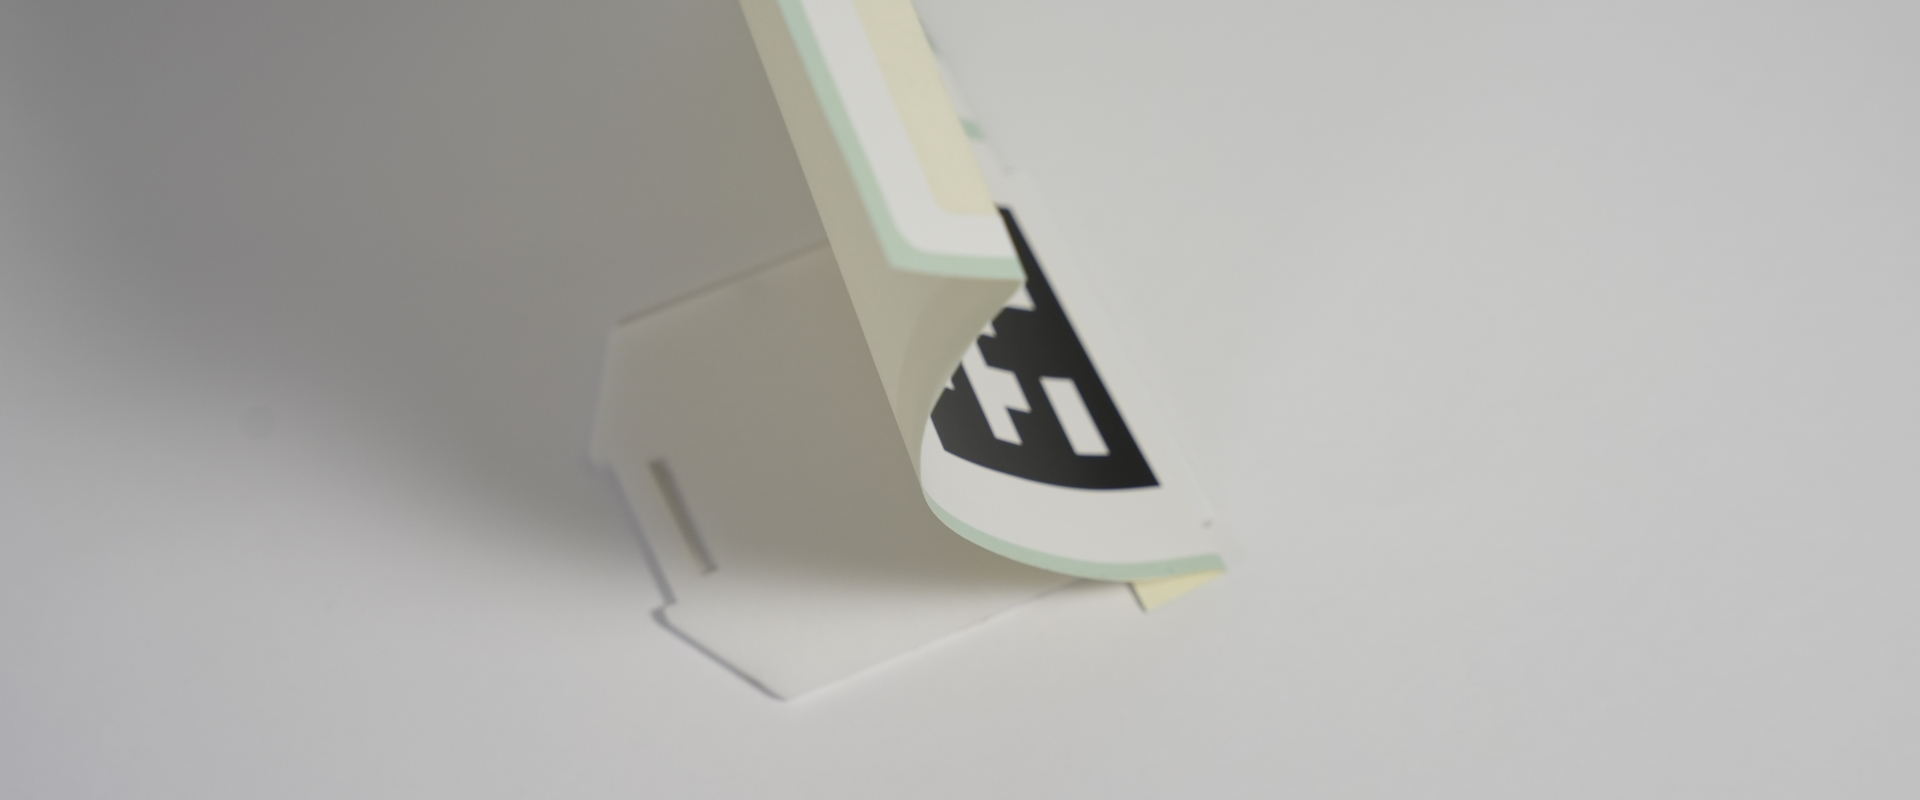
Slowly peel away the sheet to attach the sticker completely.
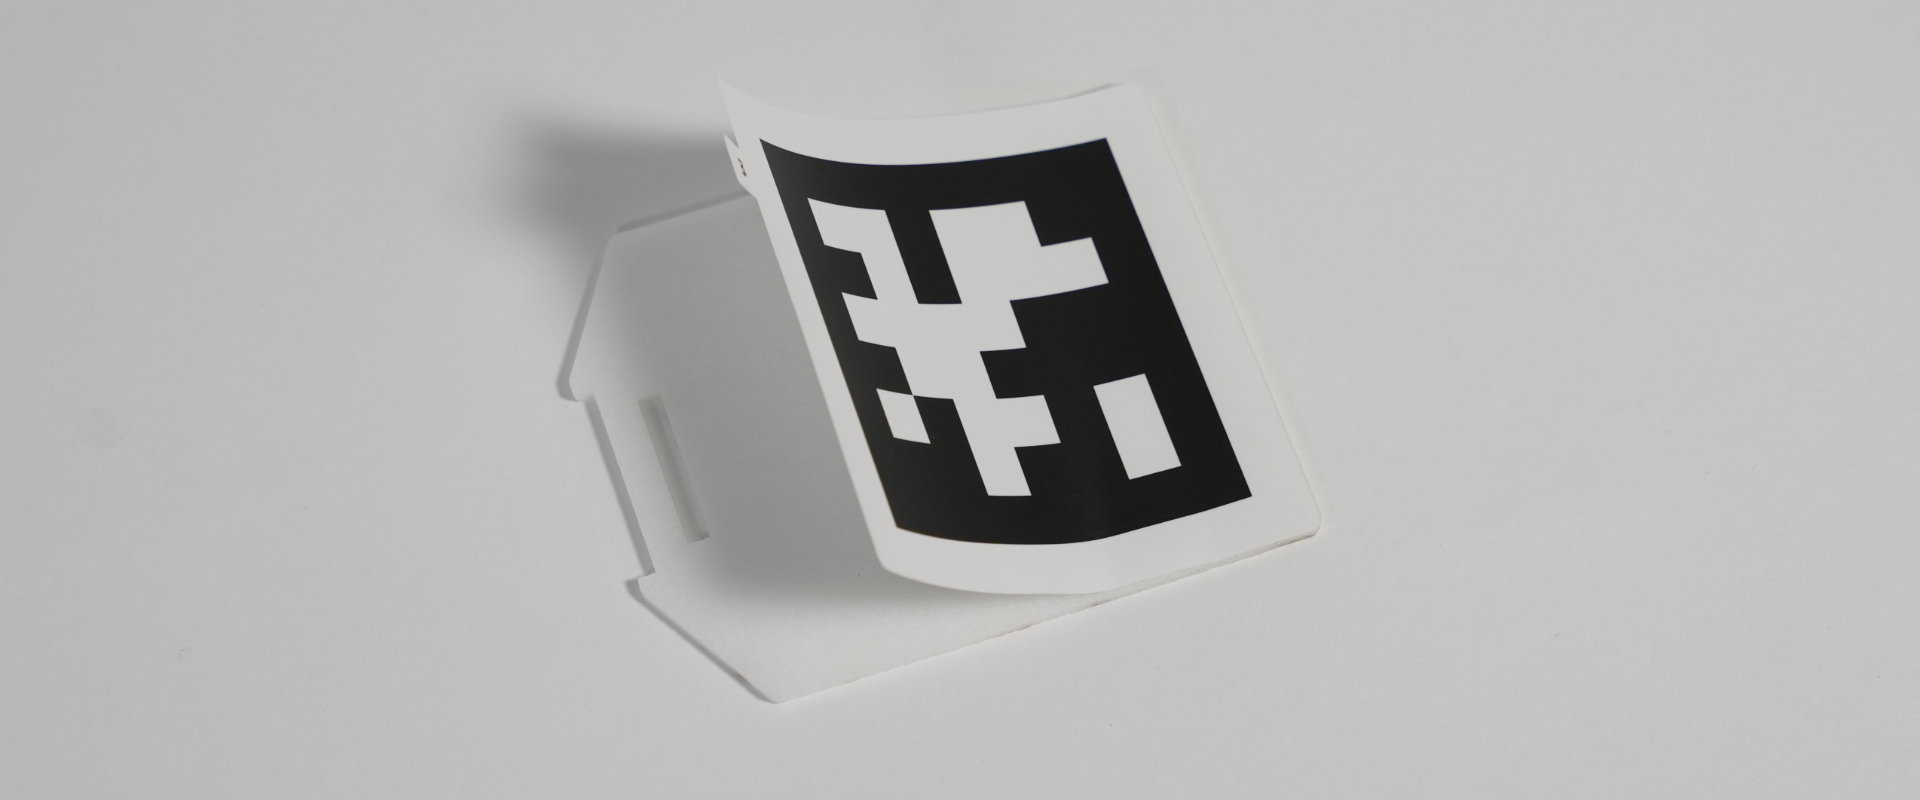
This completes the sticker placement for Board B.
Board C
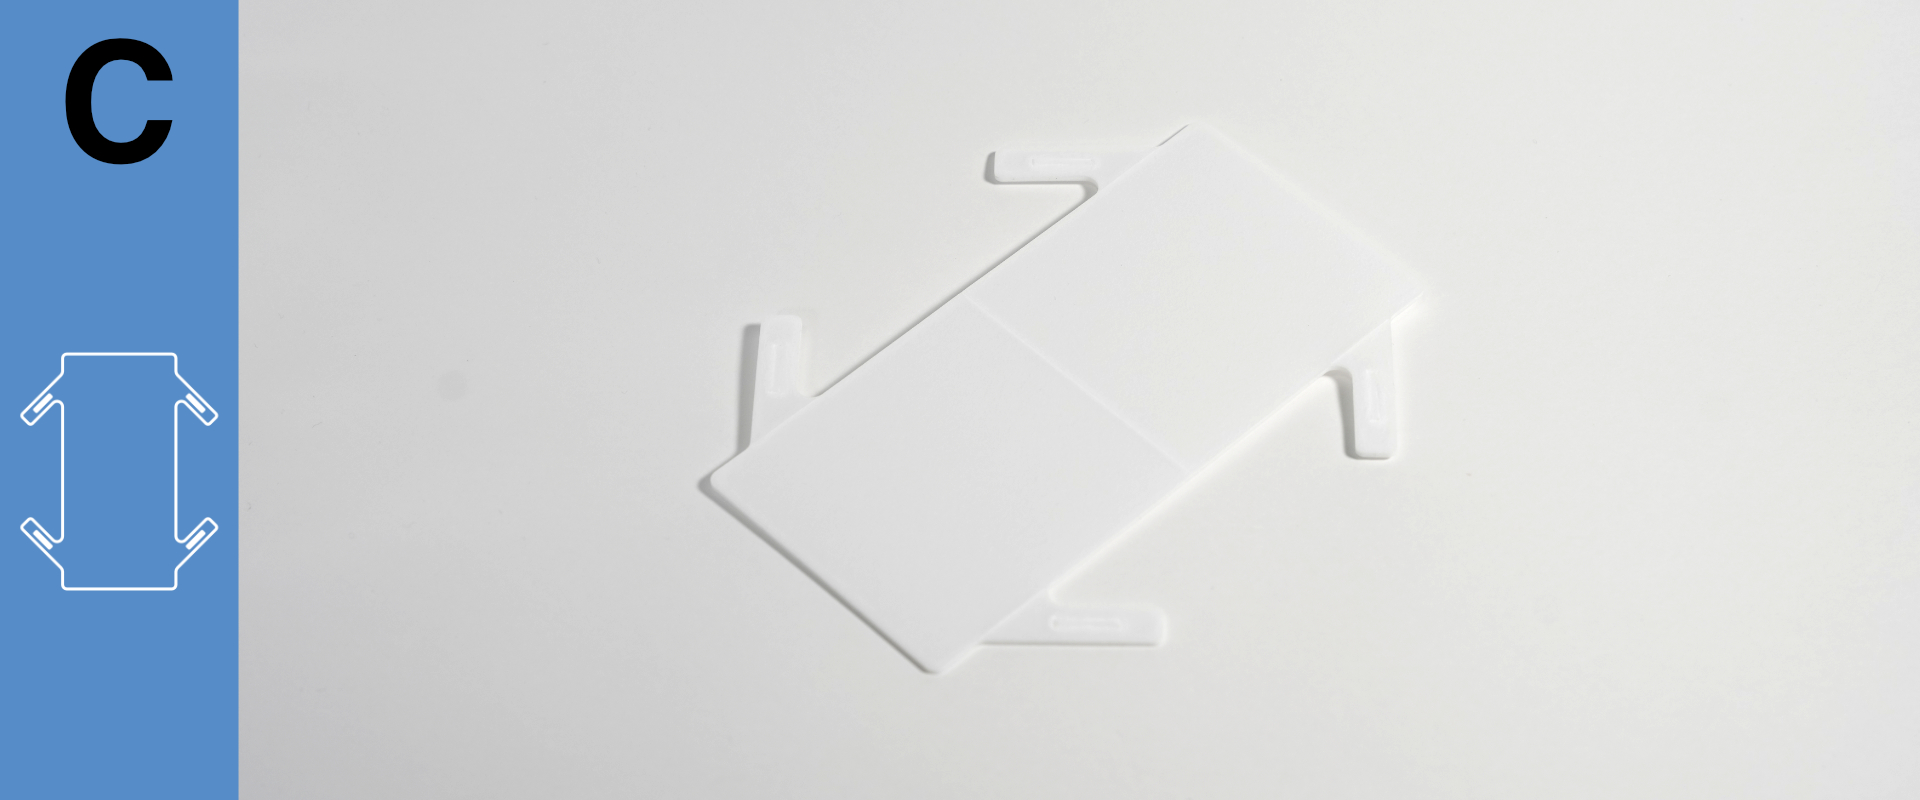
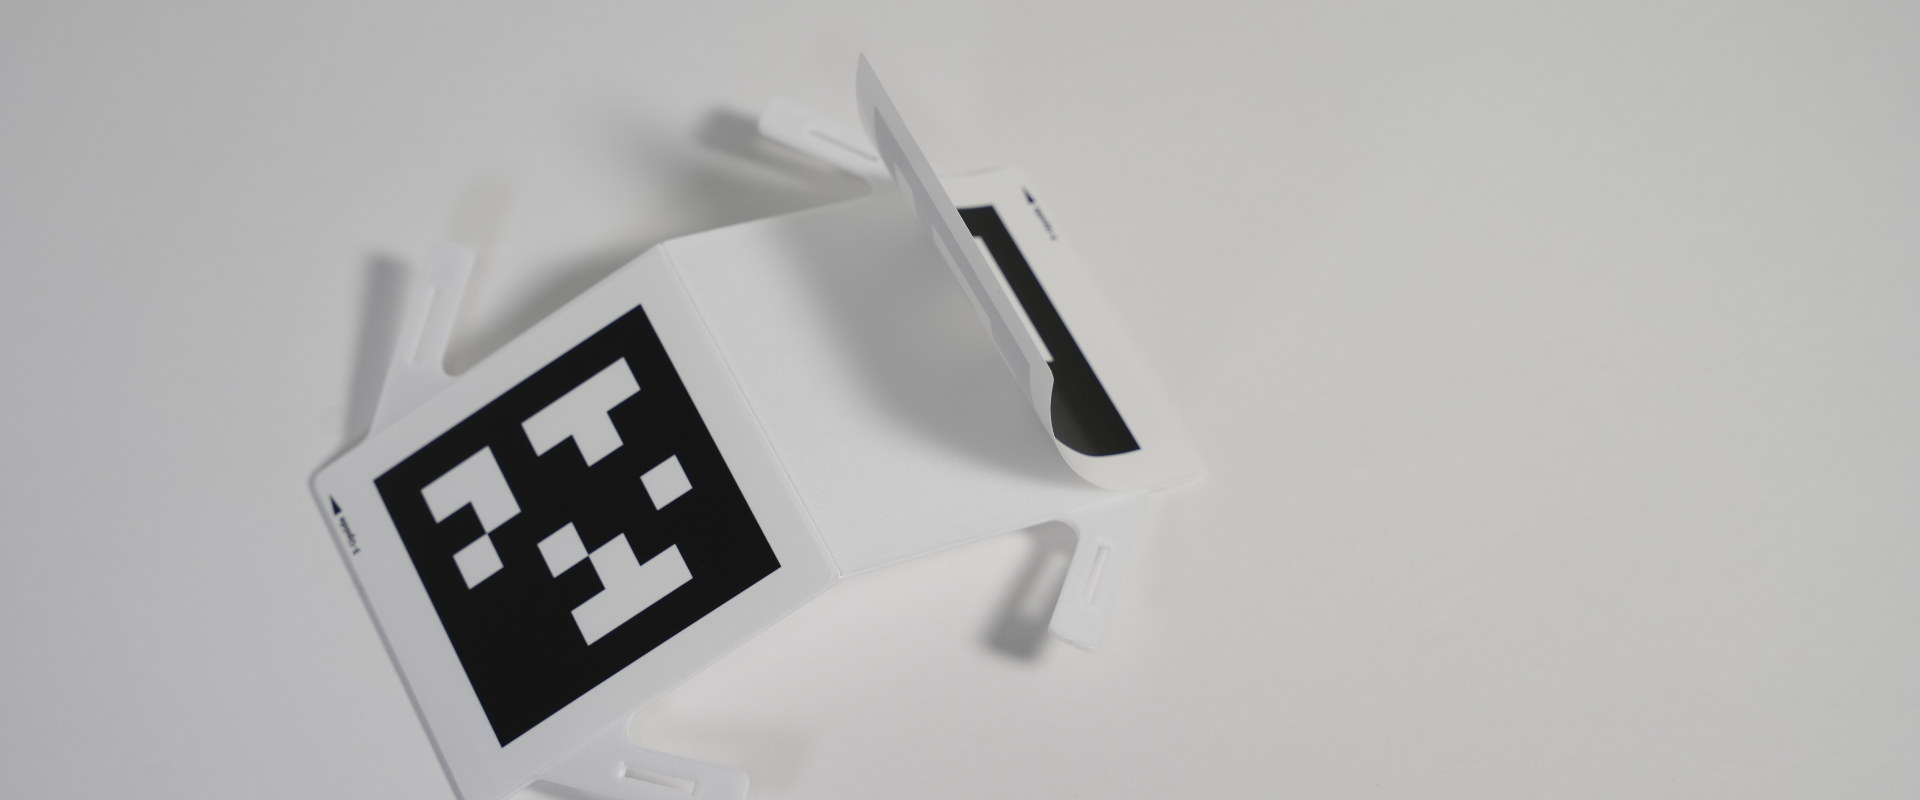
Fold Board C upward with the slit facing up.
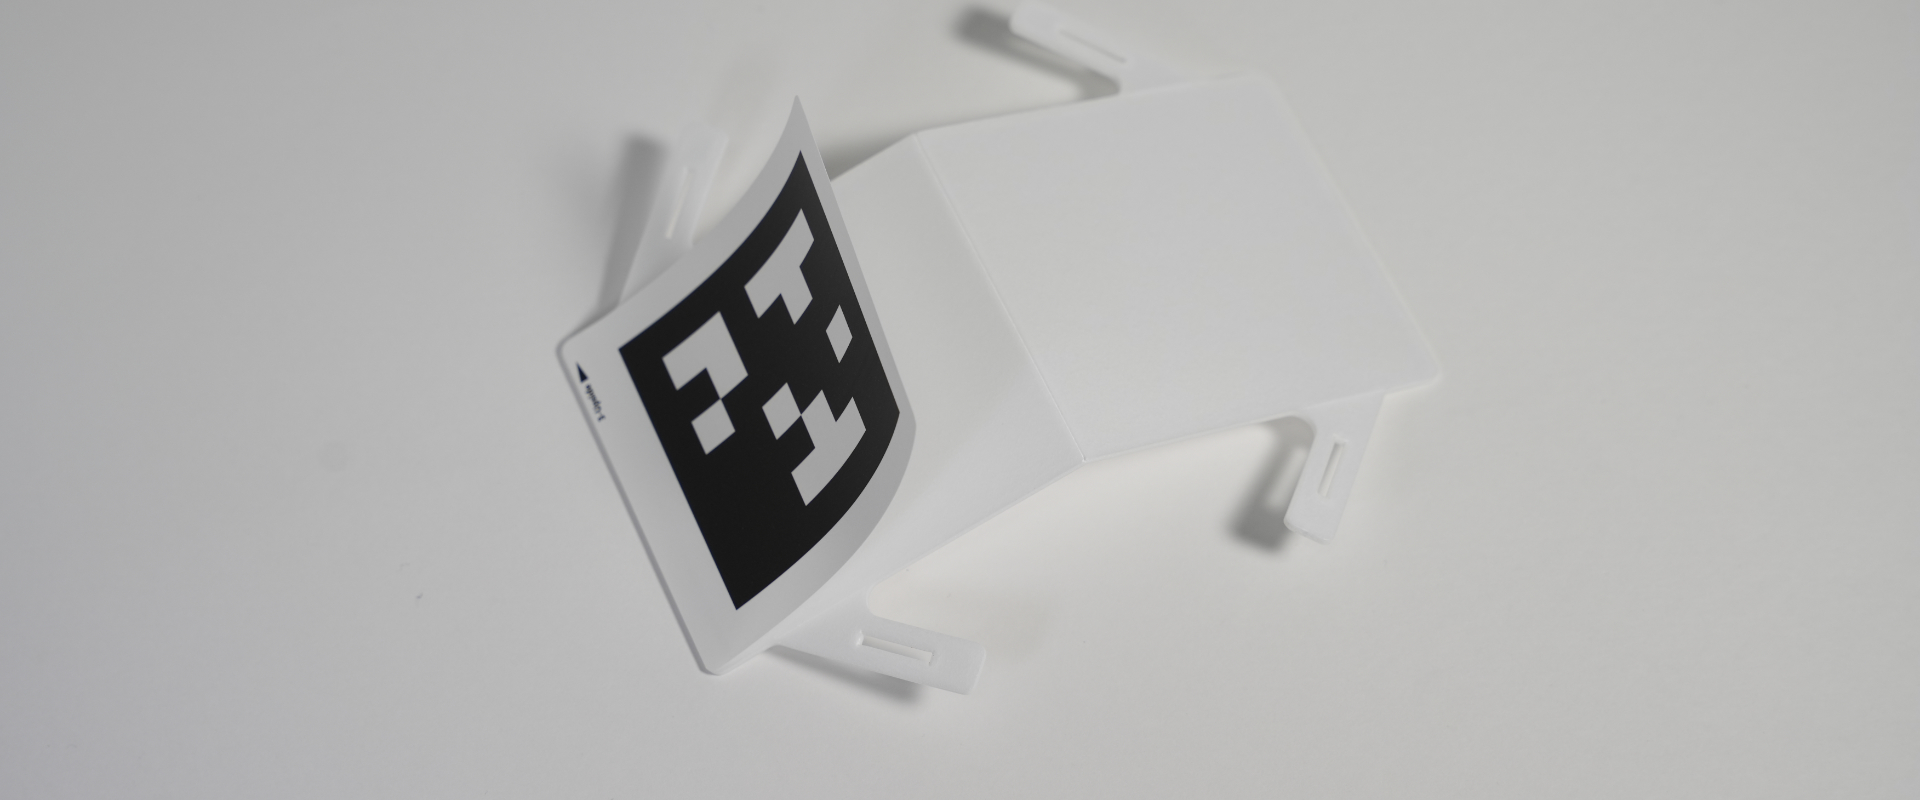
Apply the left sticker.
Fold the sheet at the edge marked “upside ▶︎” and peel up the sticker edge.

Align the sticker edge with the side of Board C.

Slowly peel away the sheet to attach the sticker completely.
Apply the sticker on the opposite side in the same way.
Fold the sheet at the “upside ▶︎” edge and peel up the sticker.
Align the edge with the board and make sure it is parallel.
Slowly peel away the sheet to attach the sticker completely.
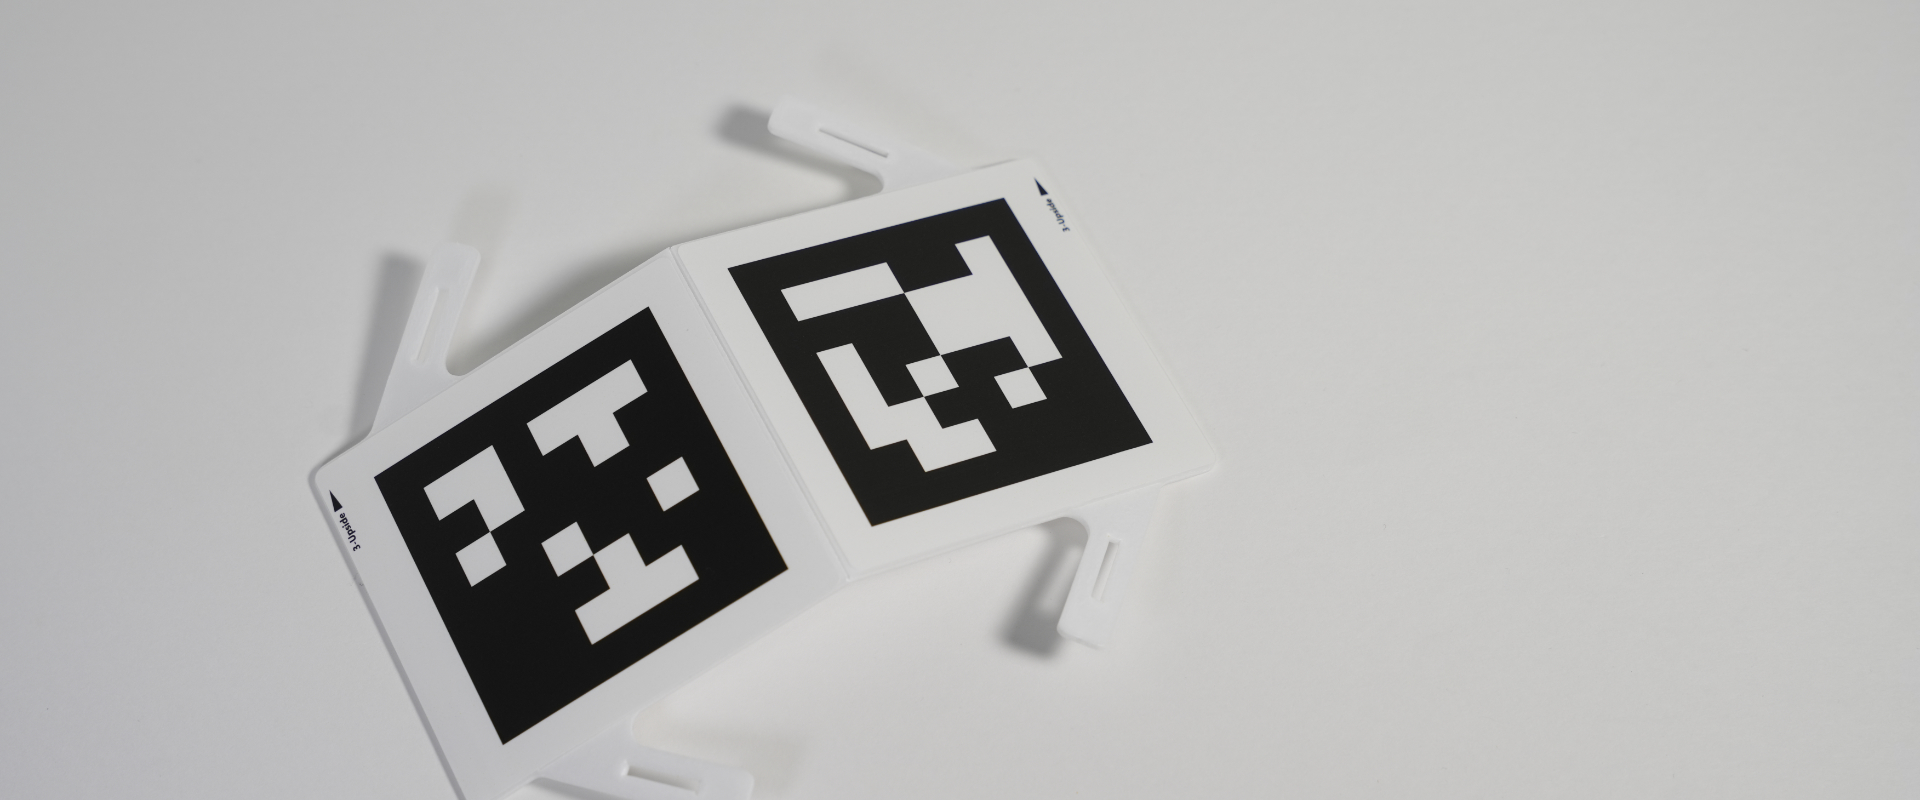
Please make sure that the “upside ▶” orientation on both markers is aligned.
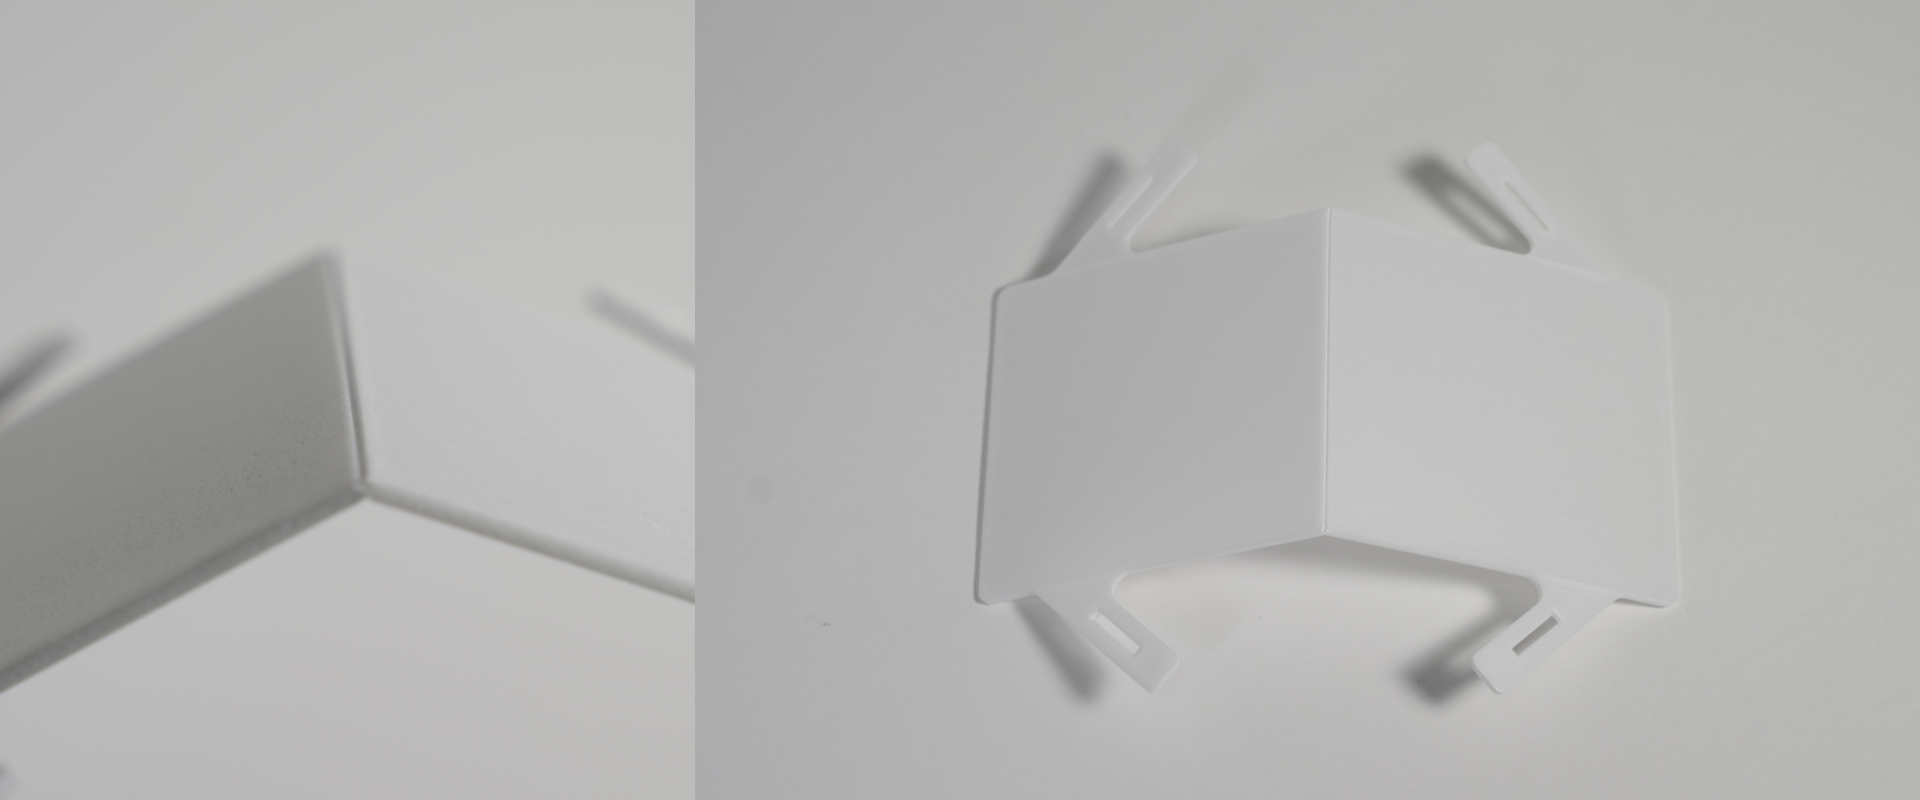
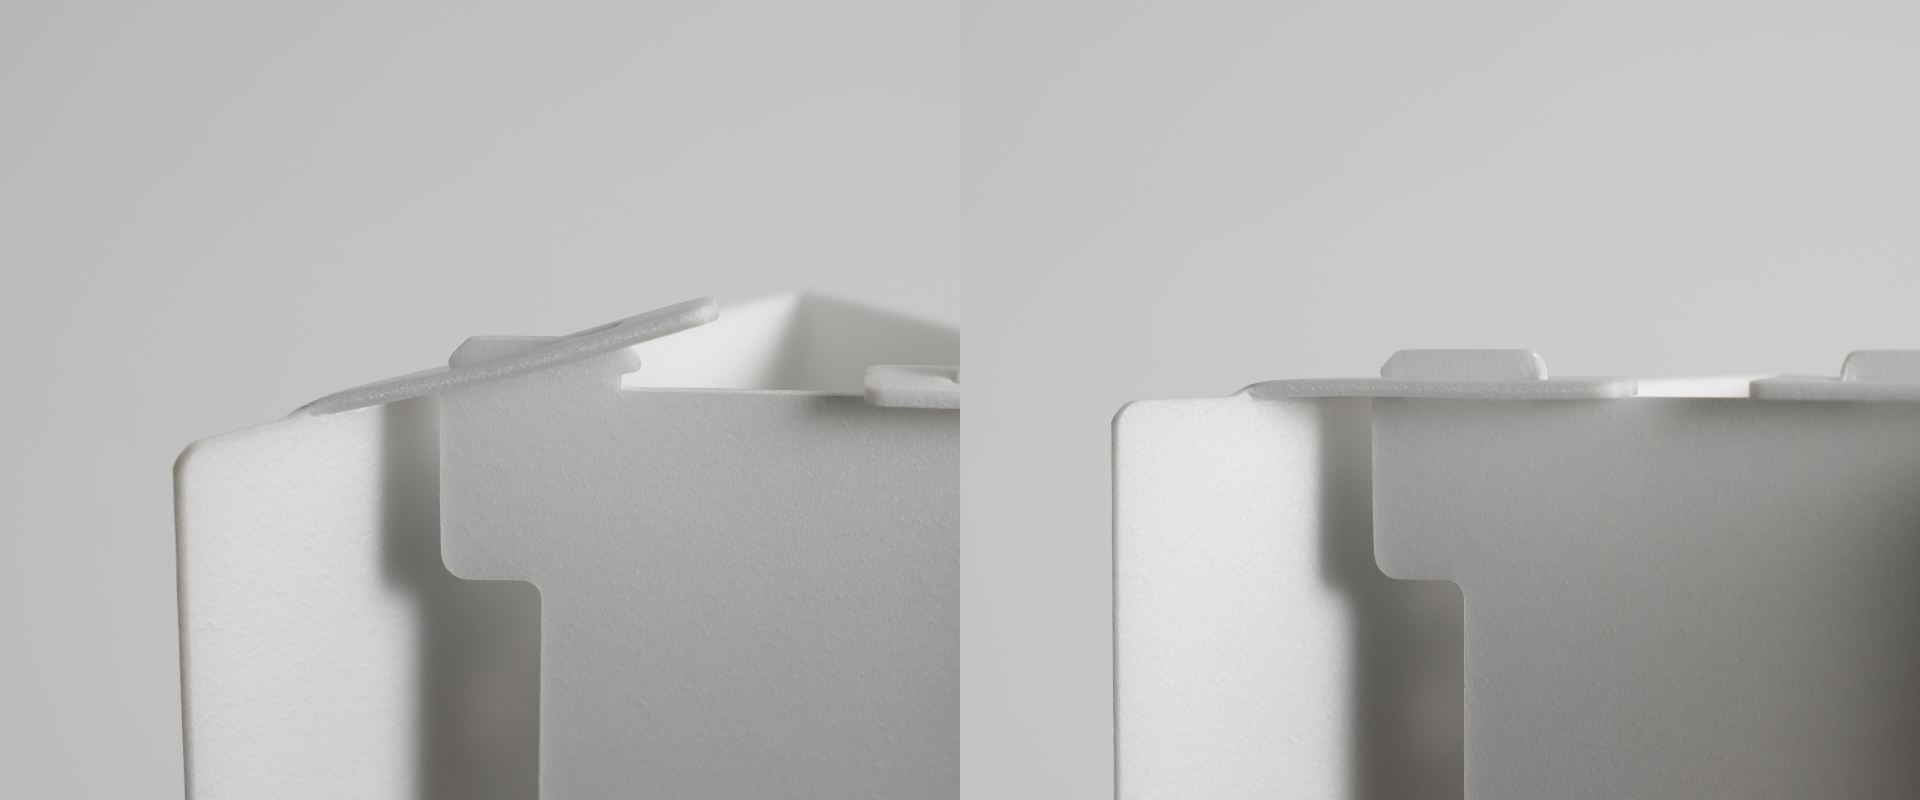
Assemble Boards C and D
Next, assemble Board C into its 3D shape.
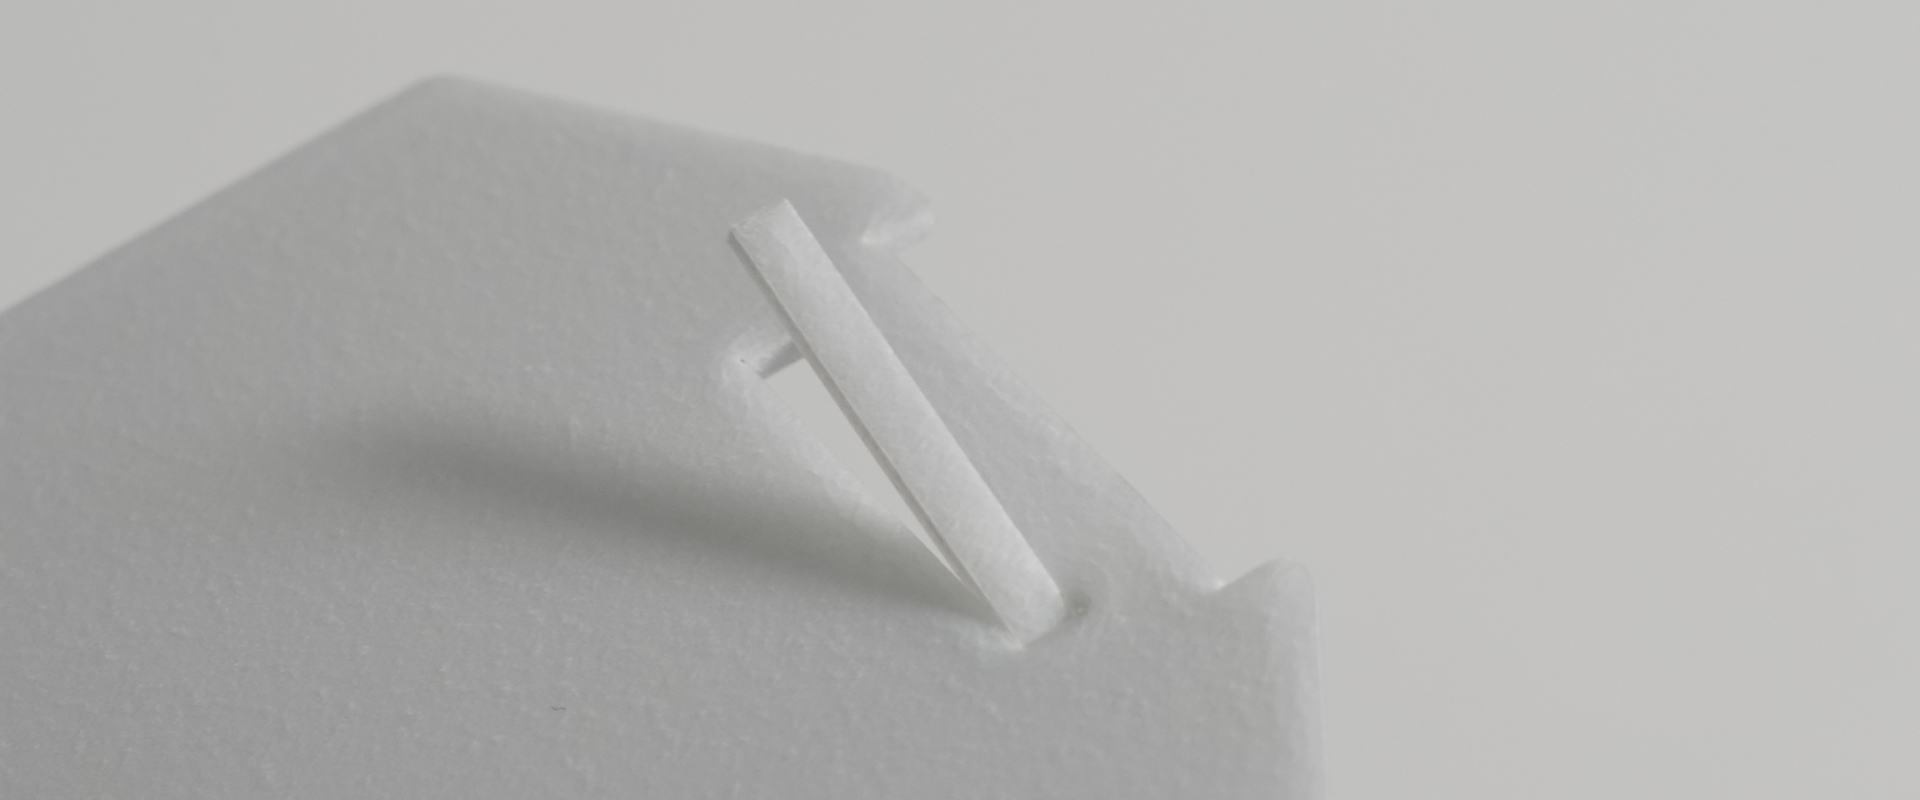
Bend the slitted parts inward toward the back of the board.


Insert one tab into the slit, then press in the other side until it snaps into place.
Assemble with the holder
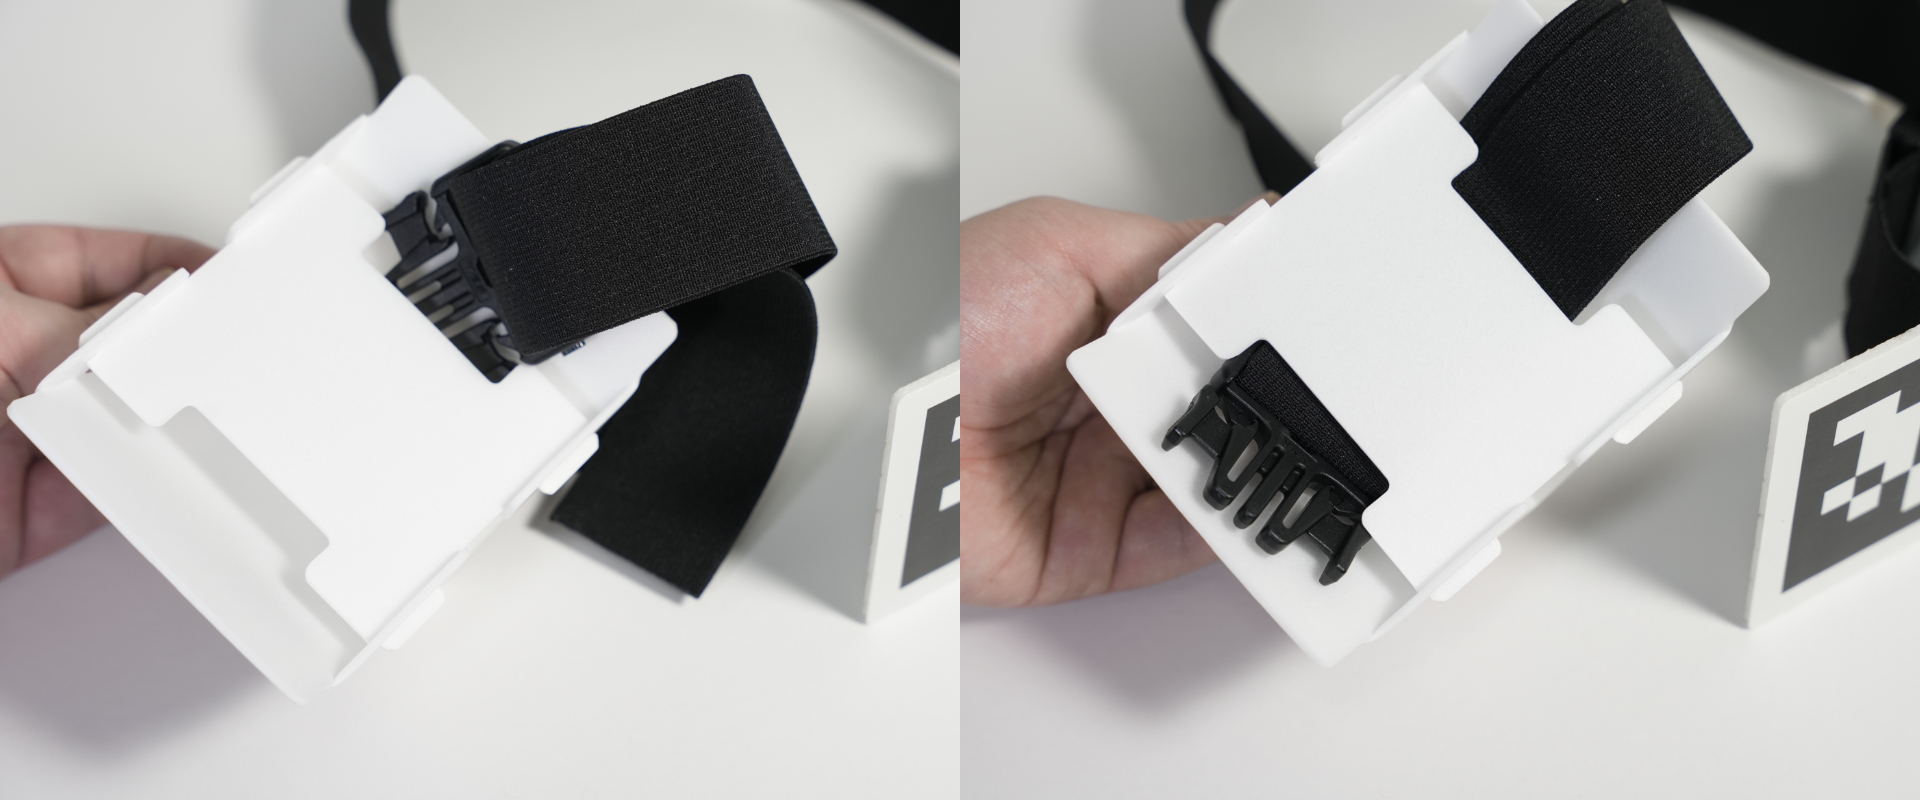
Insert the stickered Board B into the holder.
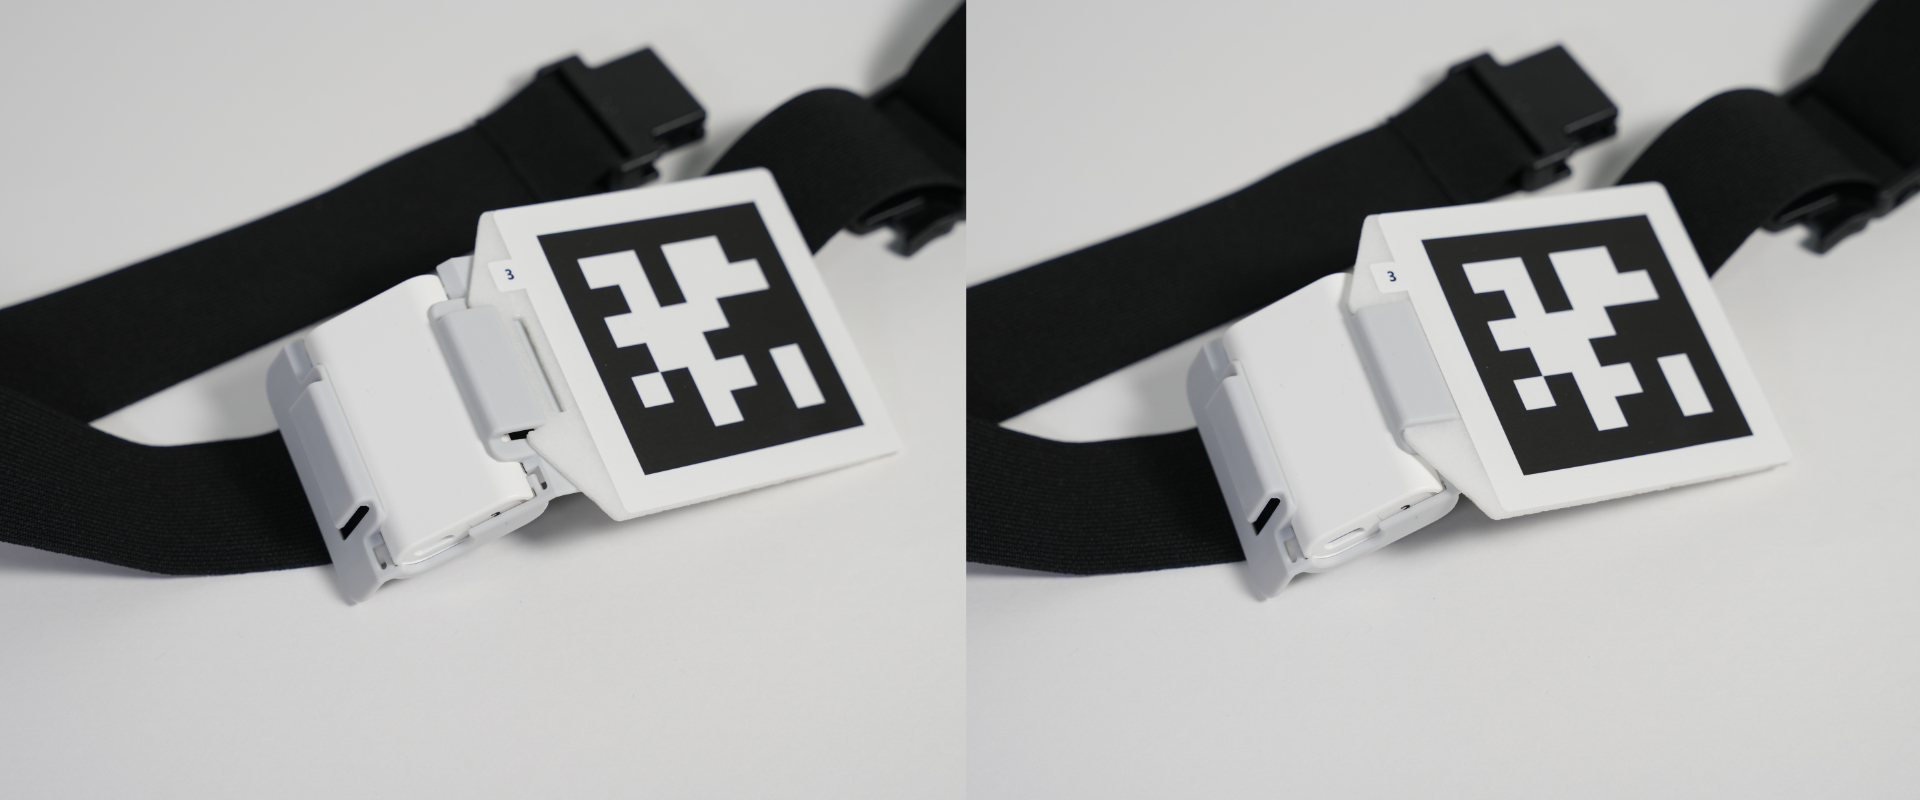

Make sure the side with the number is facing upward.
The USB connector side should face downward.
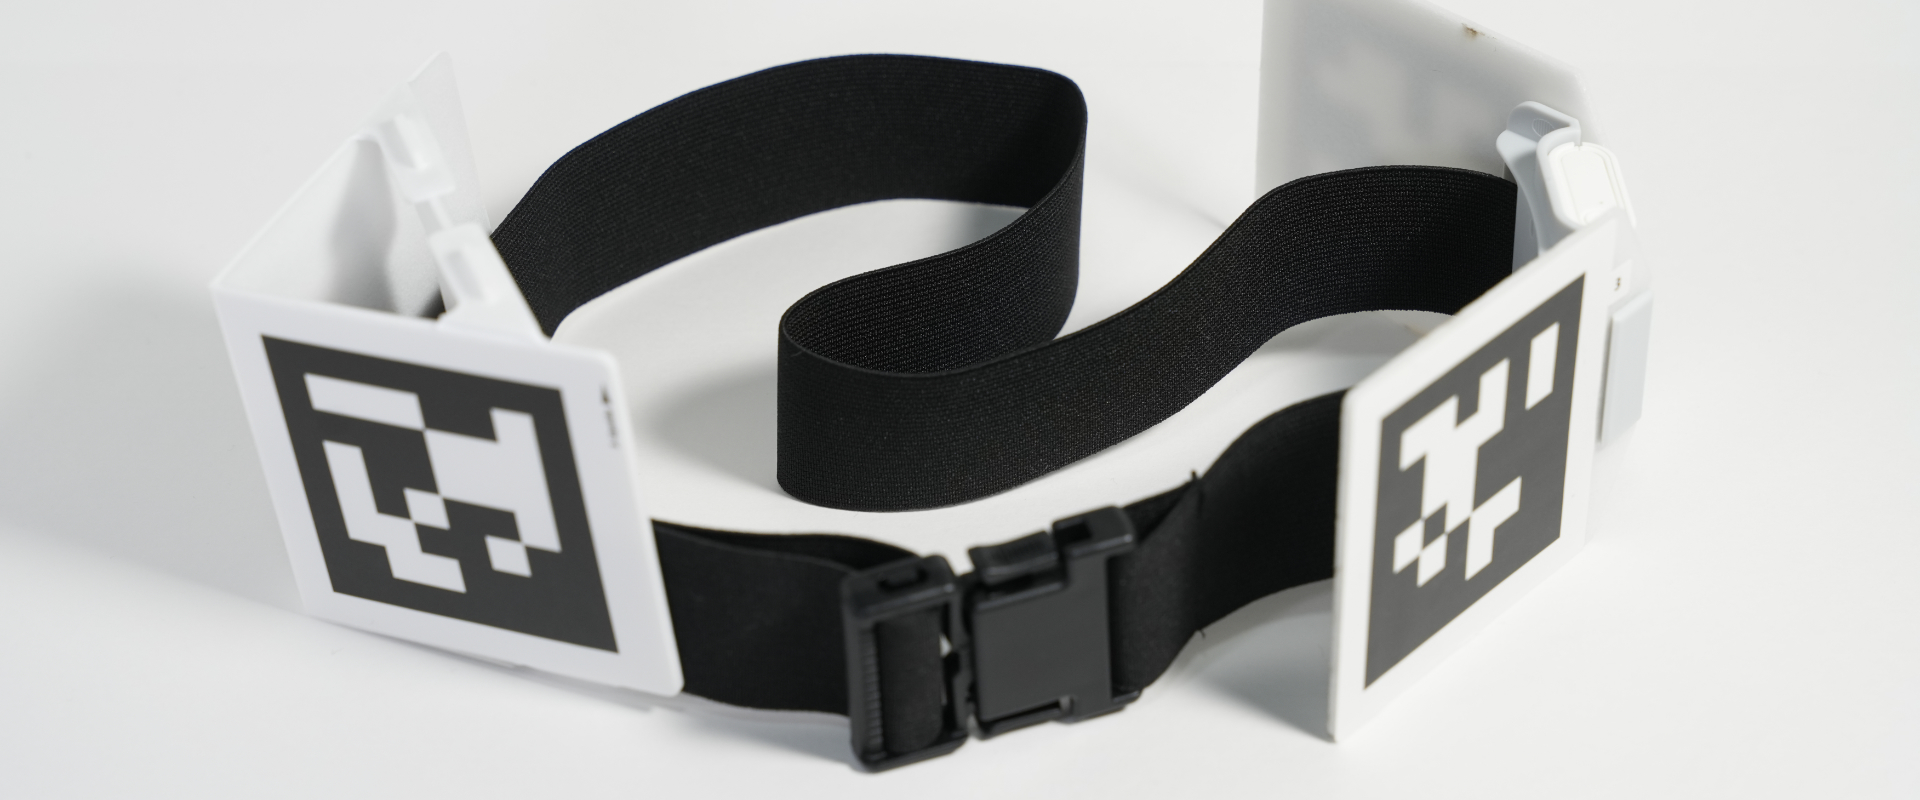
Pass the belt through assembled Board C, pushing the buckle side through.
Ensure the “upside ▶︎” arrow is facing upward.